How To Paint a Scalloped Wall for FREE
Creating a fun, whimsical home doesn’t have to break the bank. It can be affordable and maybe even free!
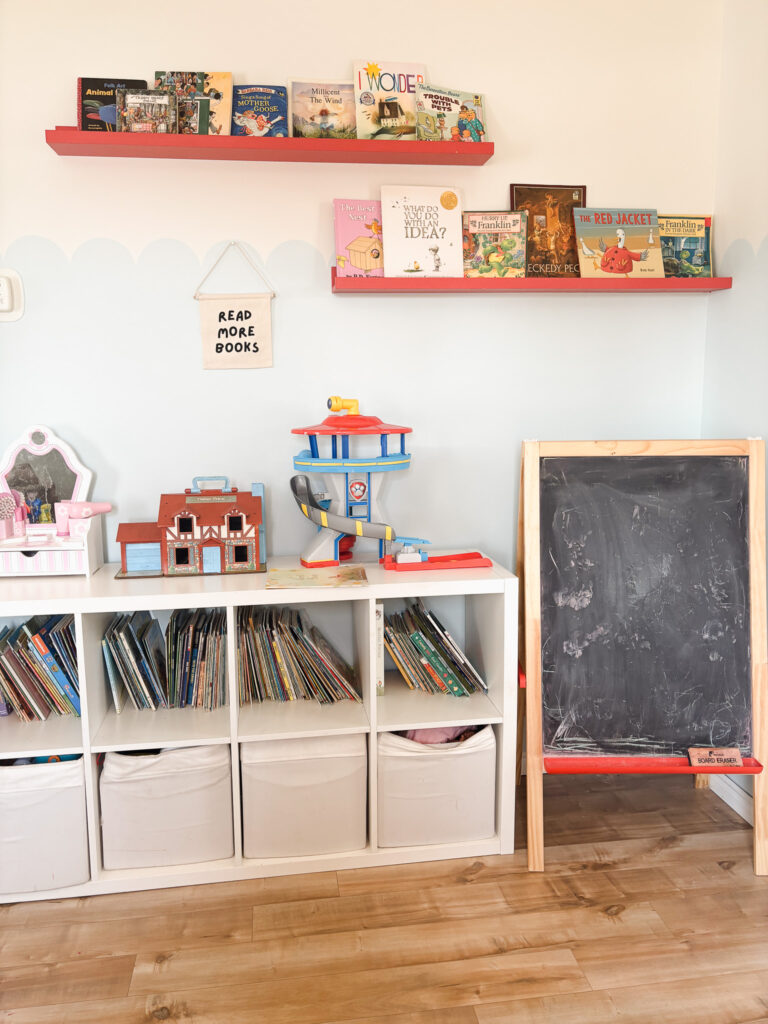
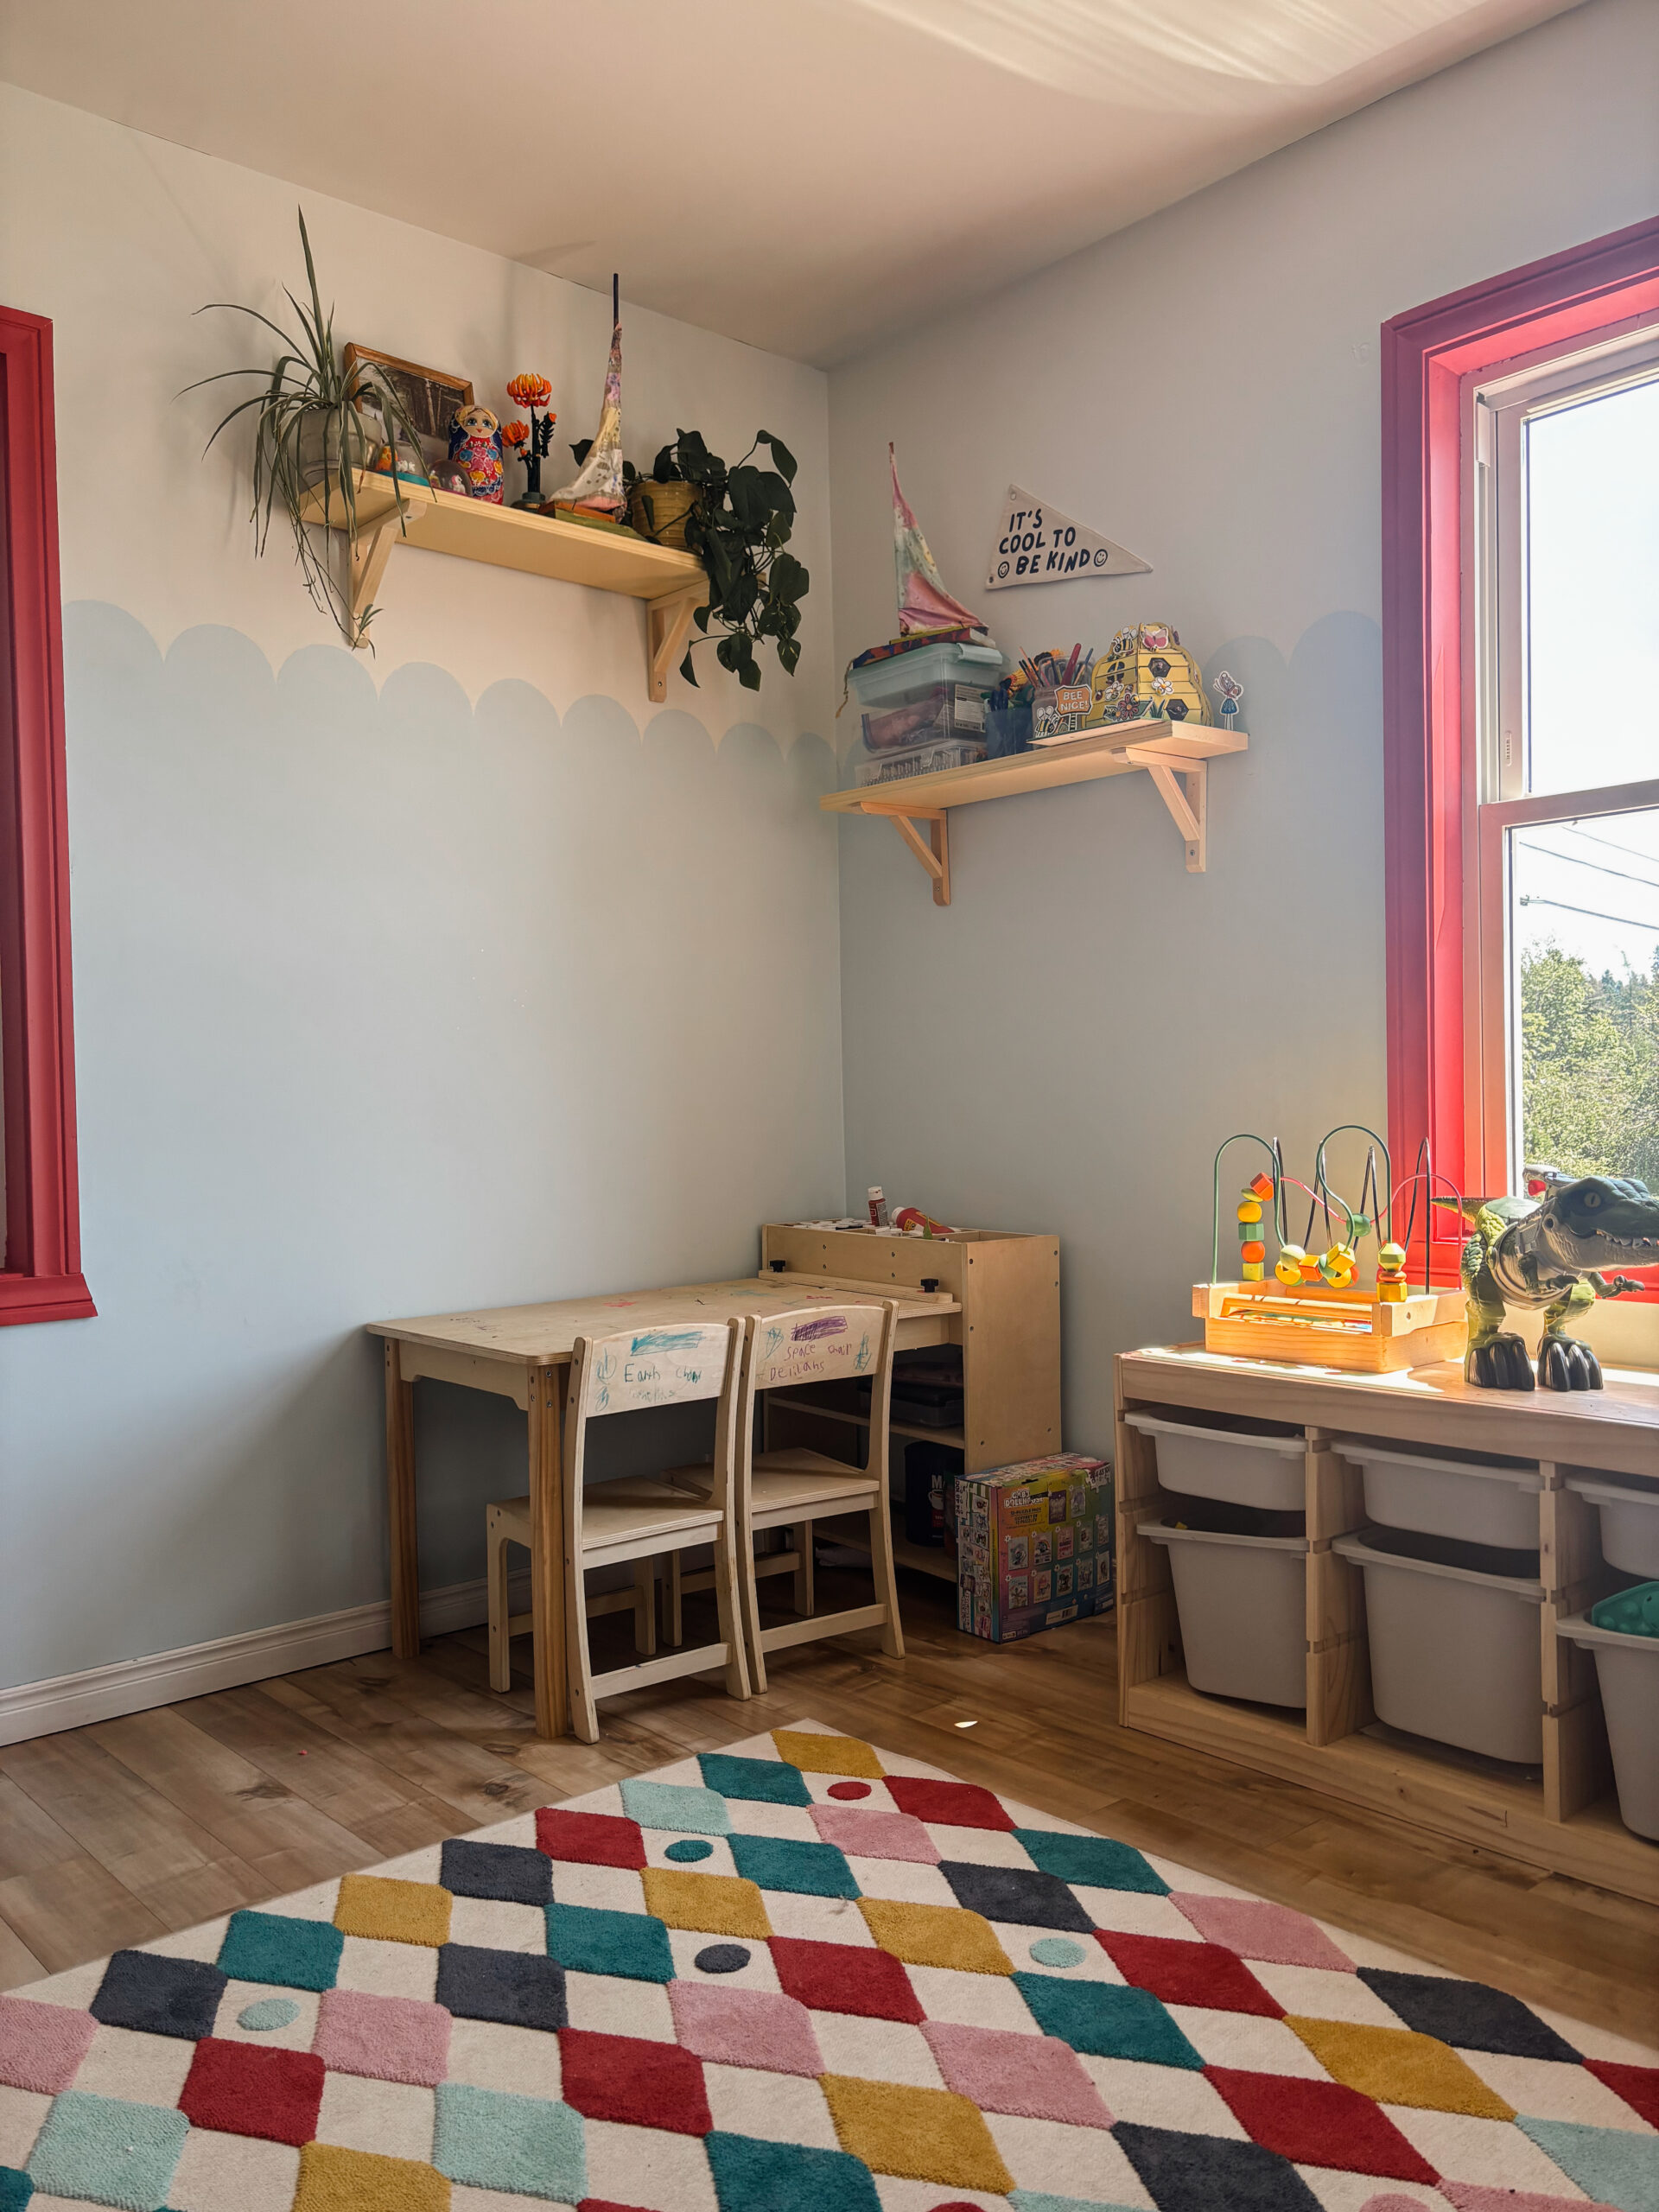
This scalloped detail I painted on the wall for our kids play area was completely by hand. Well, with a little help from some items in my house.
However, I did not purchase any stencil for this!
Instead, I found supplies I already owned to make this a slightly more affordable project.
I absolutely adore this wall & plan on doing this fun, creative painting in more areas of our house. Eventually, we are finishing our basement where the toy area will move, and I plan on adding this fun detail in our basement to help brighten the space.
Paint Colours
First, you should pick 2 colours that are good in contrast. For myself, I love the look of blue & red together and I really wanted to incorporate these colours together. However, I knew red was an intense colour and didn’t want a bunch of red on the walls so instead I wanted to use red for a pop of colour.
The colours I went with were back drop & zircon ice, both beautitone paints available at your local home hardware.
Choosing a Placement
The choice is up to you for your own home, where you want the scalloped border to be. We live in a 1940’s home, & it is rather tiny. The ceilings throughout the home are rather short, so I wanted to give the illusion of taller walls.
I went with 1/3 of the wall.
You can do 1/2 of the wall if that is what you’d prefer for your home.
Painting
When it came time to paint 2/3 of the wall blue, I took a level & measuring tape and drew a light line. I then painted the lower half of the wall in light blue and the top part white. I left the wall like this for a few days to do second coats & touch ups.
Once the paint was fully dry, I started the fun part; the scalloped border.
Instead of purchasing any stencil, I used what I have on hand.
A small plate. Yup, that and painters’ tape. I used a small dinner plate.
First, measure how tall you’d like the scallop. Once you determine that, place the tape along the back of the plate.
Line up the tape on the back of the plate, along the line on the wall, and trace around the plate held on the wall lightly. Once this is done, you should have very lightly traced half-circles on the wall.
Taking a small paint brush, paint along the line you just made. Once that is done, paint in the half circle.
Let dry overnight & come back doing more coats as needed.
Once paint is dried & everything is complete your ready to decorate the remainder of your room!
I chose to add to the colour, and paint our window trim red. As well as painted shelves in the room yellow & red.
Our kids love the scalloped wall in their play space and have requested this in other parts of the home, like our daughters room.