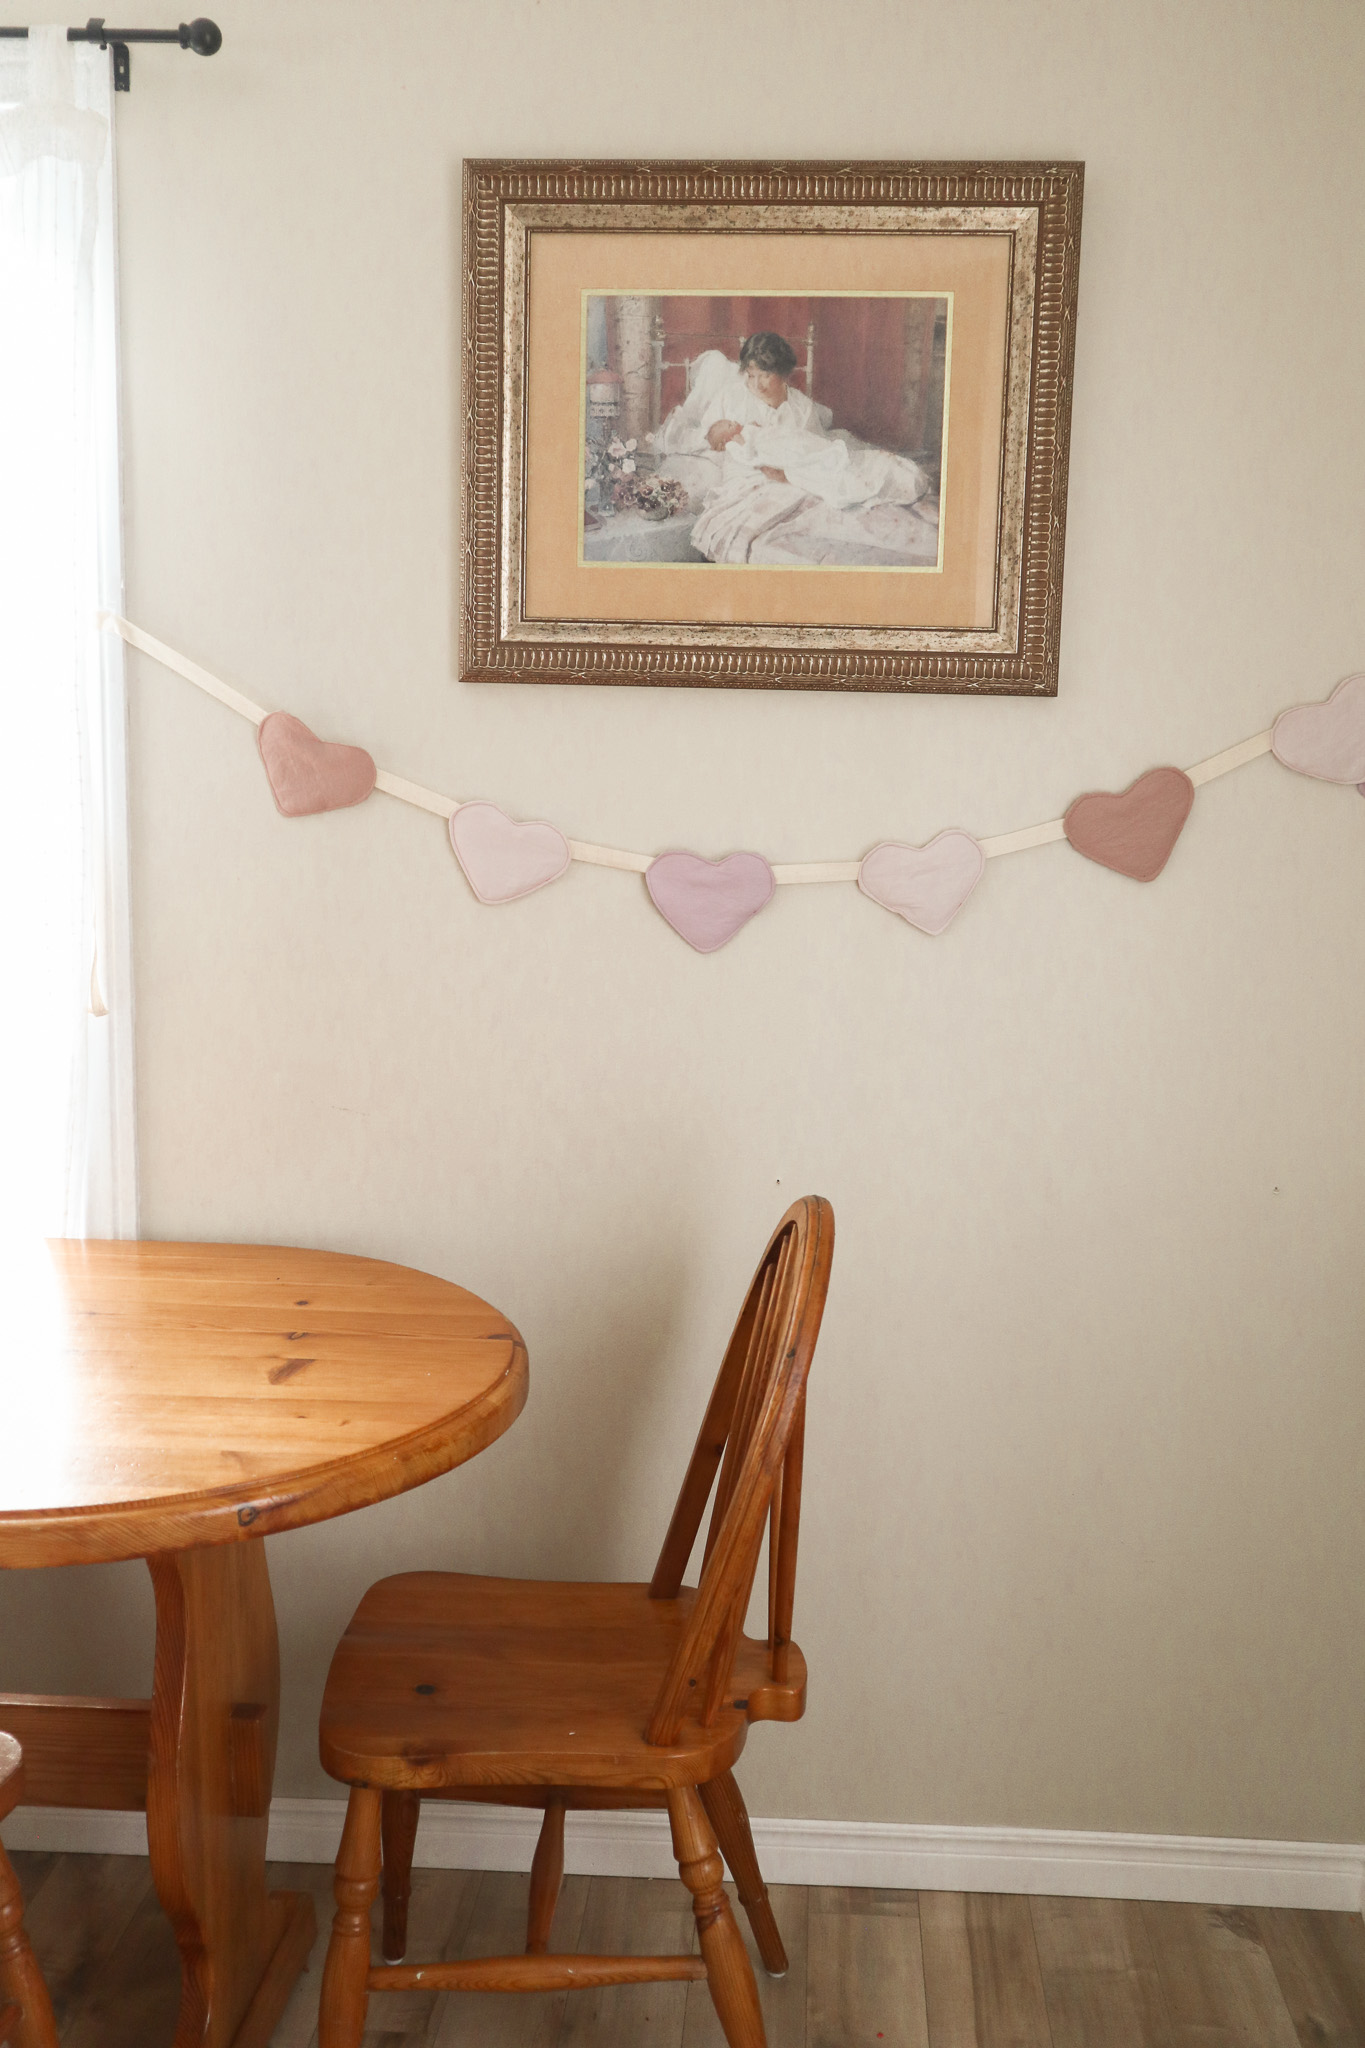
DIY Easy Heart Sewn Garland for Valentines Day
Valentines Day is approaching and if I’m honest, I want to be that “cool mom” who decorates for every special occasion. I came up with this super easy DIY heart sewn garland that is very beginner friendly!
When it comes to seasonal decor, I prefer to make my own decor. By making your own decor, especially if you have a ridiculous fabric stash like me, you can save so much money.
Not only is it cost-efficient, but I’m making heirloom pieces that I can pass down to my kids.
This adorable garland can be used for Valentines day or a cute decor piece in your childs room or playroom.
Disclosure: This post may contain affiliate links, meaning I get a commission if you decide to purchase through my links, at no cost to you.
DIY Heart Sewn Garland
This super easy DIY is a great destash project if you have an overwhelming amount of fabric (raises hand) or to use up scraps.
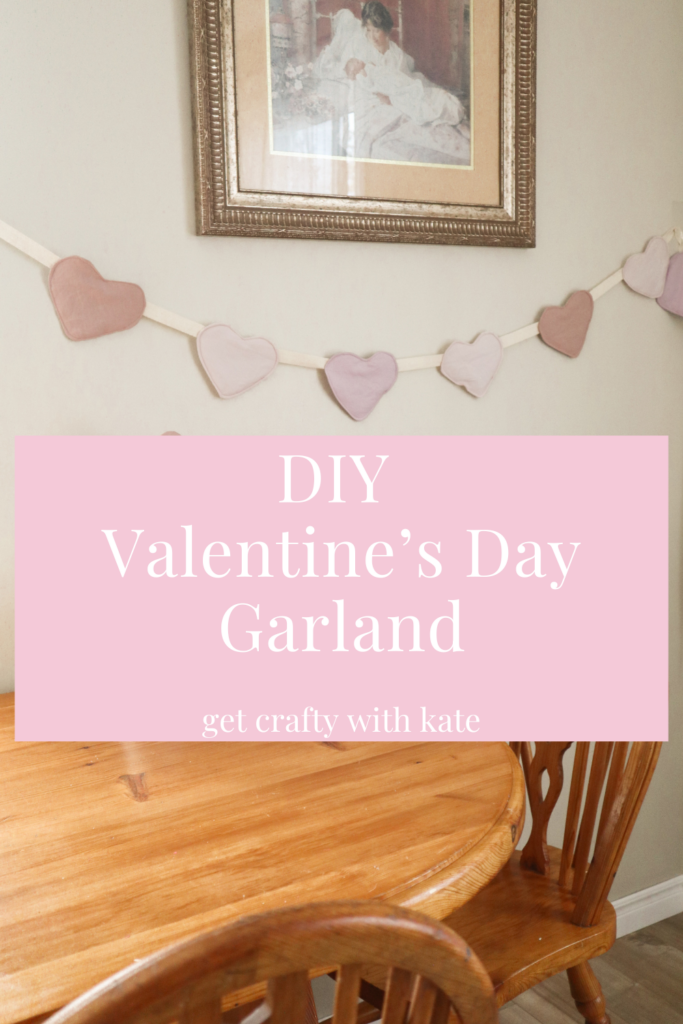
When choosing fabric, there is no certain type I’d suggest. The fabric you have on hand is a great option. I happened to have to this purple linen scraps, a light pink cotton scraps, and this beautiful mauve linen.
All my fabric was from Thread Count Fabrics, a Canadian-owned fabric business located in Manitoba.
Supplies
The most obvious item in this project is a sewing machine. Unfortunately, this is not a hand-sewn project.
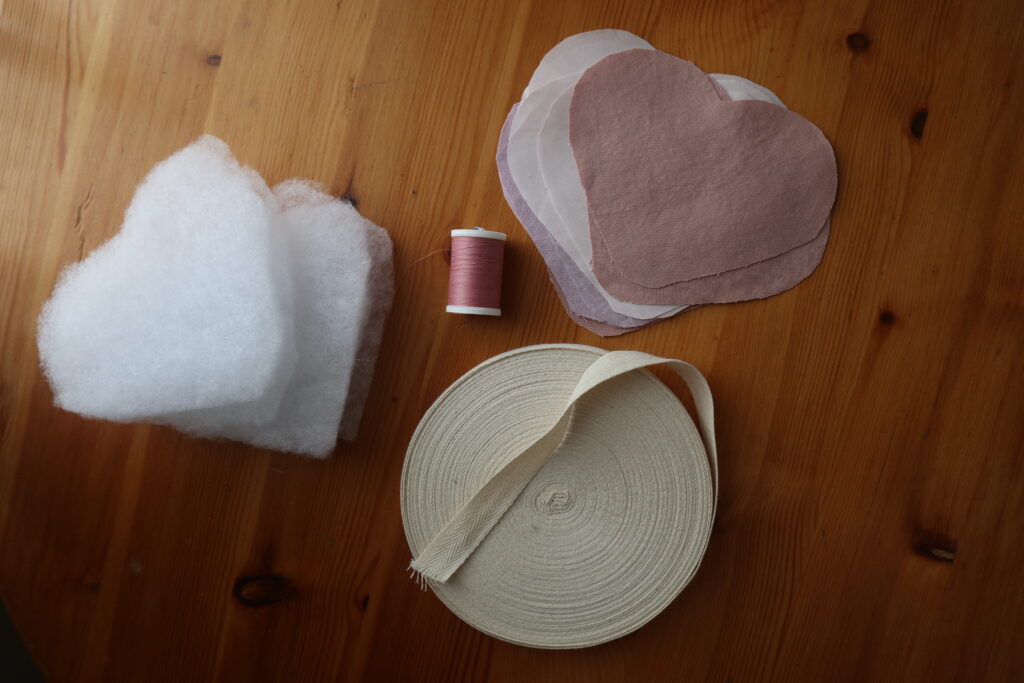
- any fabric of your choice
- thread
- quilt batting
- twill tape
- sewing machine
- fabric scissors
- pins
- free heart cut-out download, printed & cut out
FREE Heart Pattern
When creating this garland, I wanted to come up with just the right size for this project. After testing multiple different sizes, I came up with this design.
Heart Sewn Garland Steps
This garland is VERY beginner-friendly. It’d even be a great project to do with your little one learning to sew.
Step 1
Start by first printing and cutting out your free heart cutout.
In total, 7 hearts will be made. For my heart garland, I used a link pink cotton fabric for 3 of my hearts, a mauve linen for 2 of the hearts, and the last 2 hearts were cut from purple linen.
Pin your heart cutout to your fabric and cut out your fabric pieces. You should have in total 14 heart cutouts.
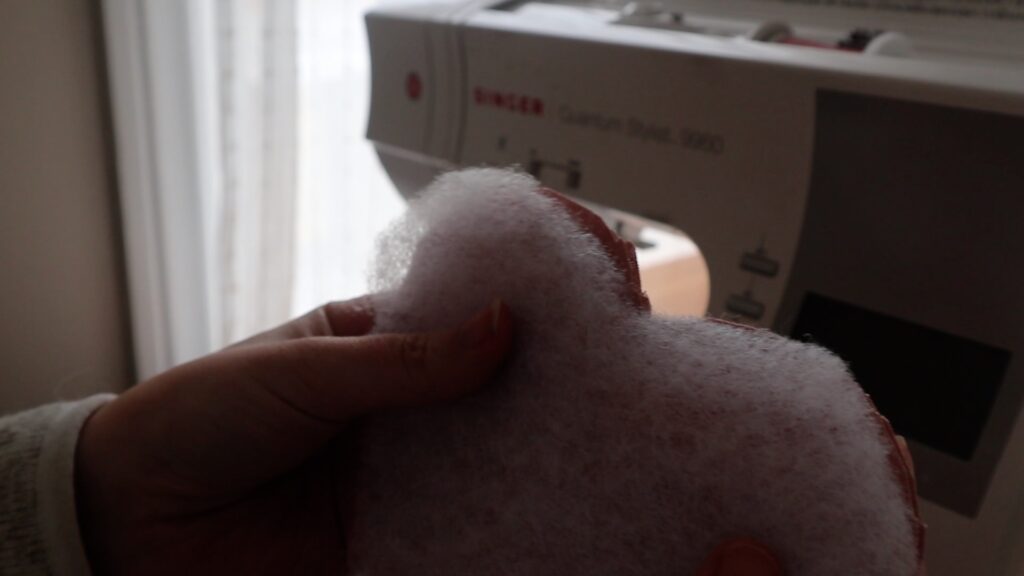
On top of cutting out the fabric, we also need to cut out batting. Repeat the step for cutting out your fabric for the quilt batting. The only difference, we are cutting out only 7.
Step 2
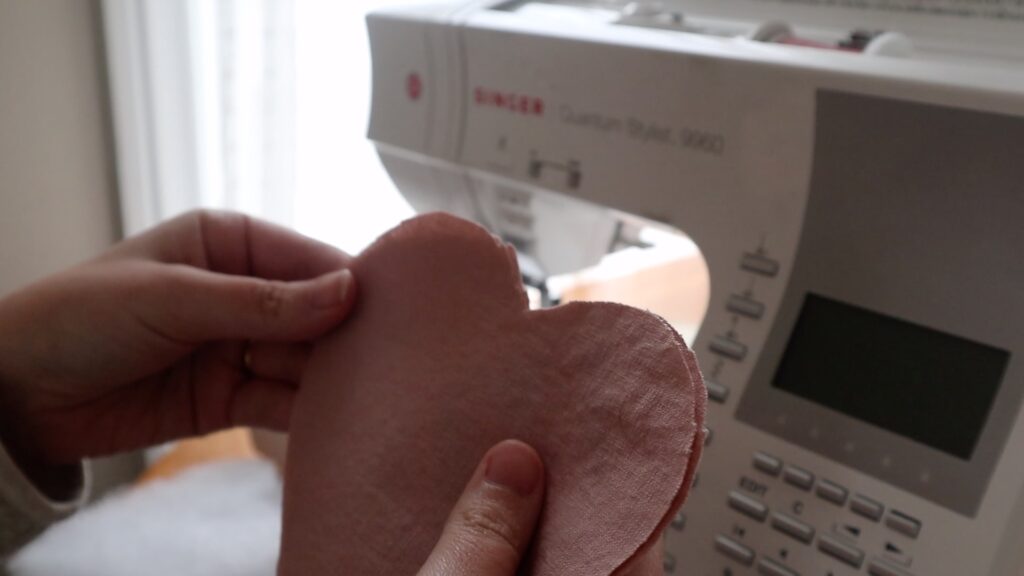
After cutting out your fabric and batting, place your pieces right sides together, aka the nice pretty sides of the fabric.
Then taking a piece of batting, place it on top of the heart. Your cutout should look like a piece of quilt batting, and then 2 pieces of fabric underneath.
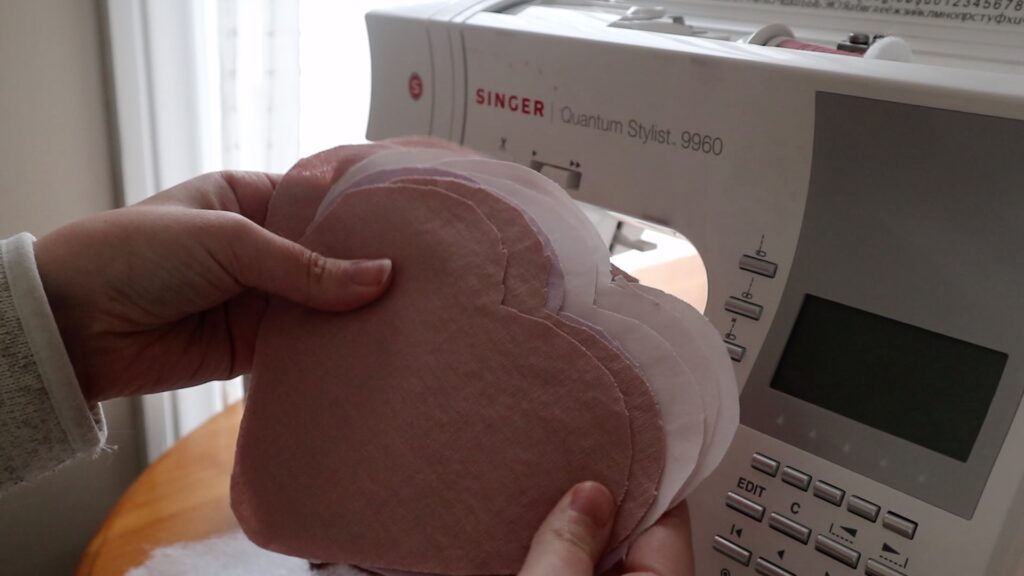
Step 3
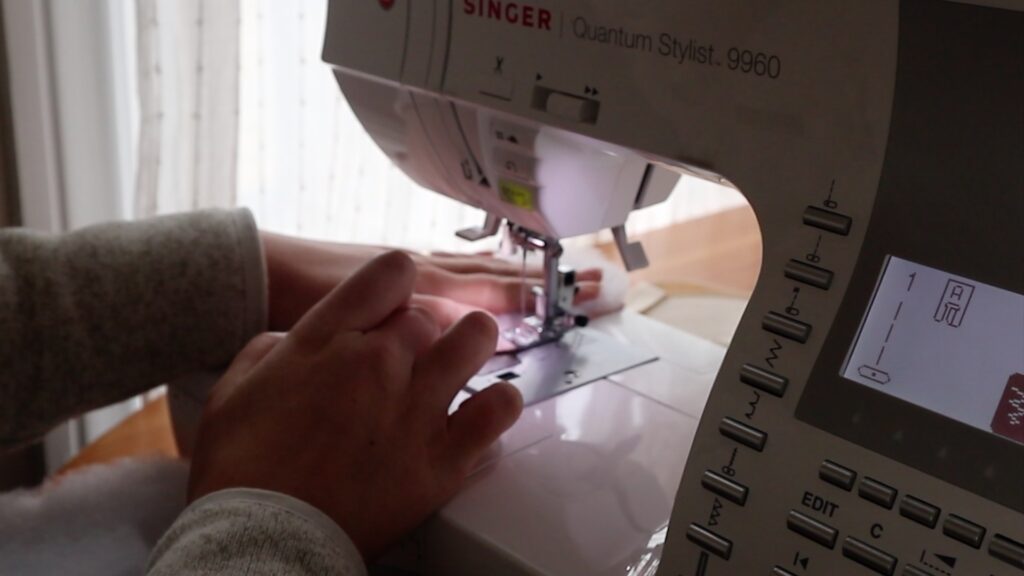
Now the fun part, it’s time to sew our heart together for our heart sewn garland!
We are leaving a slight opening on the side of the heart, a 1 1/2″ opening.
Place your project under the needle and start sewing with a 1/8″ seam allowance. Continue around the heart until you’ve reached the mark for your opening. Make sure you do your back stitches at the beginning and end of your sewing!
Repeat the steps we just did 7 more times.
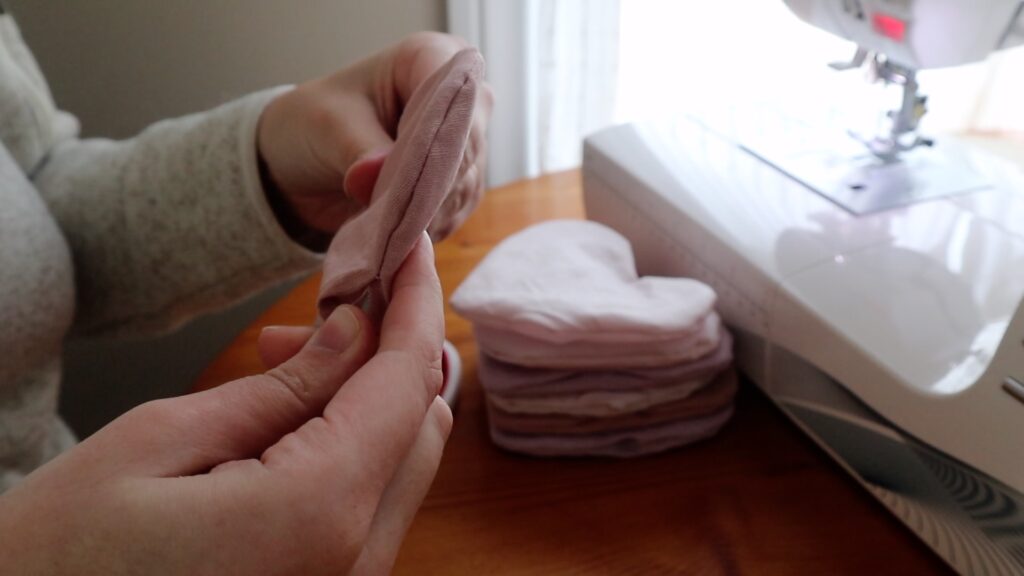
When you’re finished you should have 7 sewn hearts.
Step 4
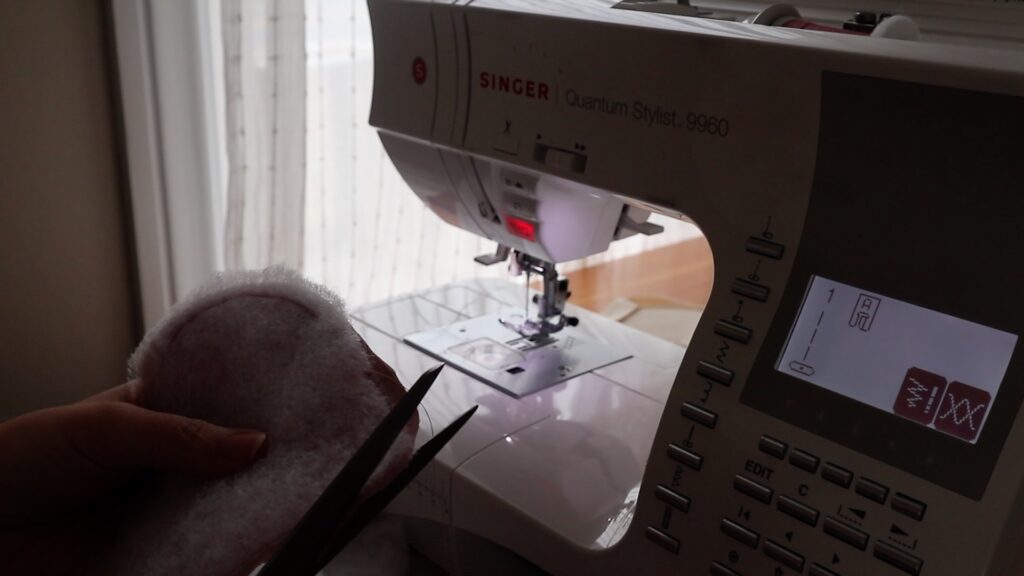
Once all the hearts are sewn together, it’s time to trim around the edges. Grab your fabric scissors and trim ever so slightly around the edges.
When coming to the centre of the top of the heart (the V part of the heart), make little snips in the fabric.
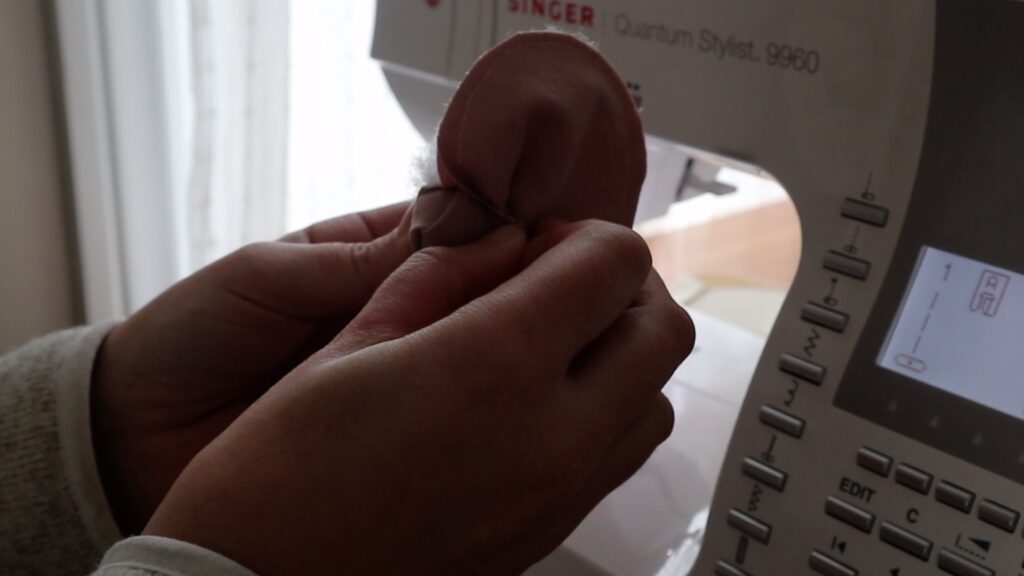
After trimming the edges on all of the hearts, carefully flip the heart inside out.
Once the heart is inside out, I like to take a crochet hook to make sure that everything is where it needs to be. If you don’t have a crochet hook, you can easily use a pencil or pen. Just don’t use the pointy side.
Step 5
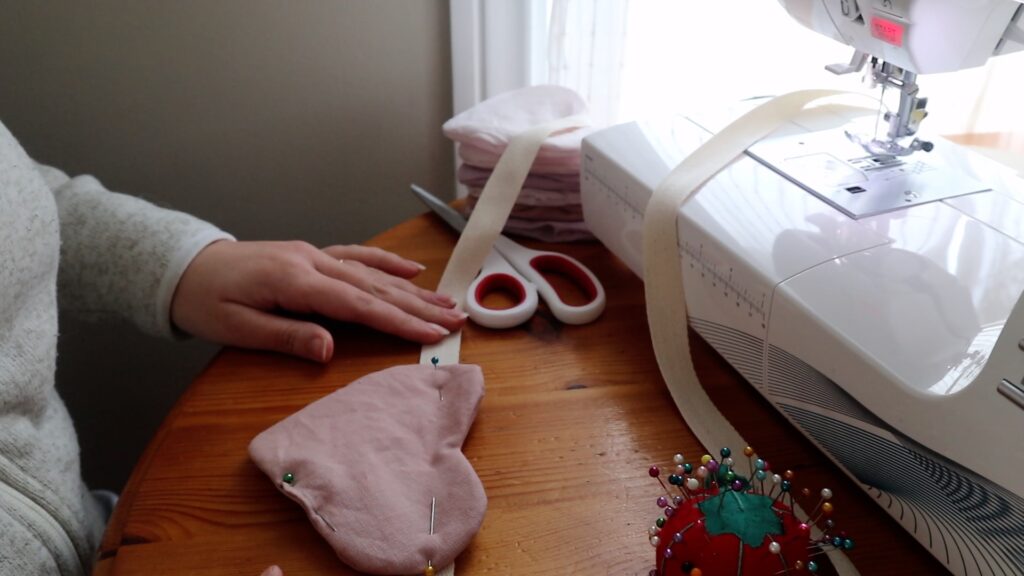
Now that the hearts are all flipped inside out with the seams neatly fixed, pin the small opening on the side of the heart shut.
Taking the twill tape, figure out the length you’d like your garland to be from the first heart. I wanted mine to be long enough that I could pin it up on the wall OR tie it. Because of this, mine may be longer than you’d like but that’s the great thing about making your own decor, you can customize it to what YOU want!
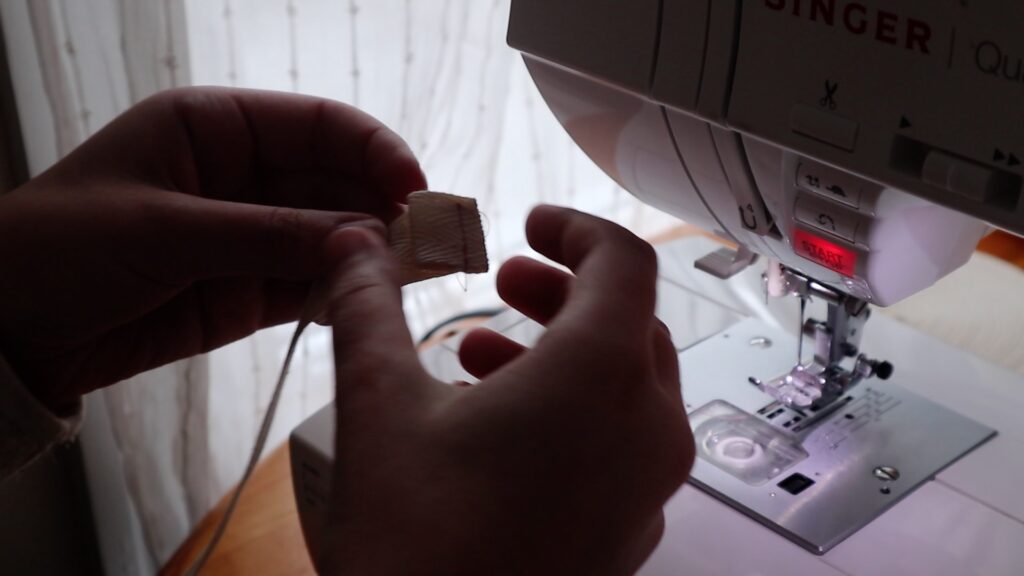
We are going to sew a nice top stitch along the top of the heart. Try to stay close to the edge as we are ensuring that the opening we had is closed.
I placed the twill tape on the heart by lining up the top of the twill tape to the V part of the heart. This was an easy way for me to ensure I was placing all the hearts in the same spot without seeing the twill tape.
When sewing, make sure you sew the opening shut and not to pull on the twill tape so it moves up or down the heart.
The first heart is on!
Measure now 3 1/2″ from the first heart and that’ll be your placement for your second heart and so on.
Continue sewing your heart sewn garland until all 7 hearts are on the twill tape.
Step 6
I didn’t want any raw edges on my garland. Taking the end of the garland, fold it over once and then fold it over one more time. Sew this together.
For mine, I created small loops on the end so I can even place them on hooks if I wanted. I wanted lots of options for getting these up.
Trim off any extra strings laying around and you are done!
If you make the garland, make sure to tag me on Instagram. I’d love to see your variation of this cute DIY.
This garland is darling Kate!! The perfect Valentine touch <3
Thank you!!
How adorable and easy! Thank you for sharing this idea!
Thank you so much!
I’ve never sewn garland and these hearts are adorable. Thanks for the tutorial!
Thank you!