A Beginner’s Guide to Make Bias Tape (2 Different Ways!!)
A great way to elevate your sewn makes is by using bias tape. But what is it? And how do you use it?
There’s also the looming question: Should you buy or make them?
And if I want to make them, how do I make them?
All these questions are answered below!
Similar Blog Posts: How to Thread a Machine
What is Bias Tape?
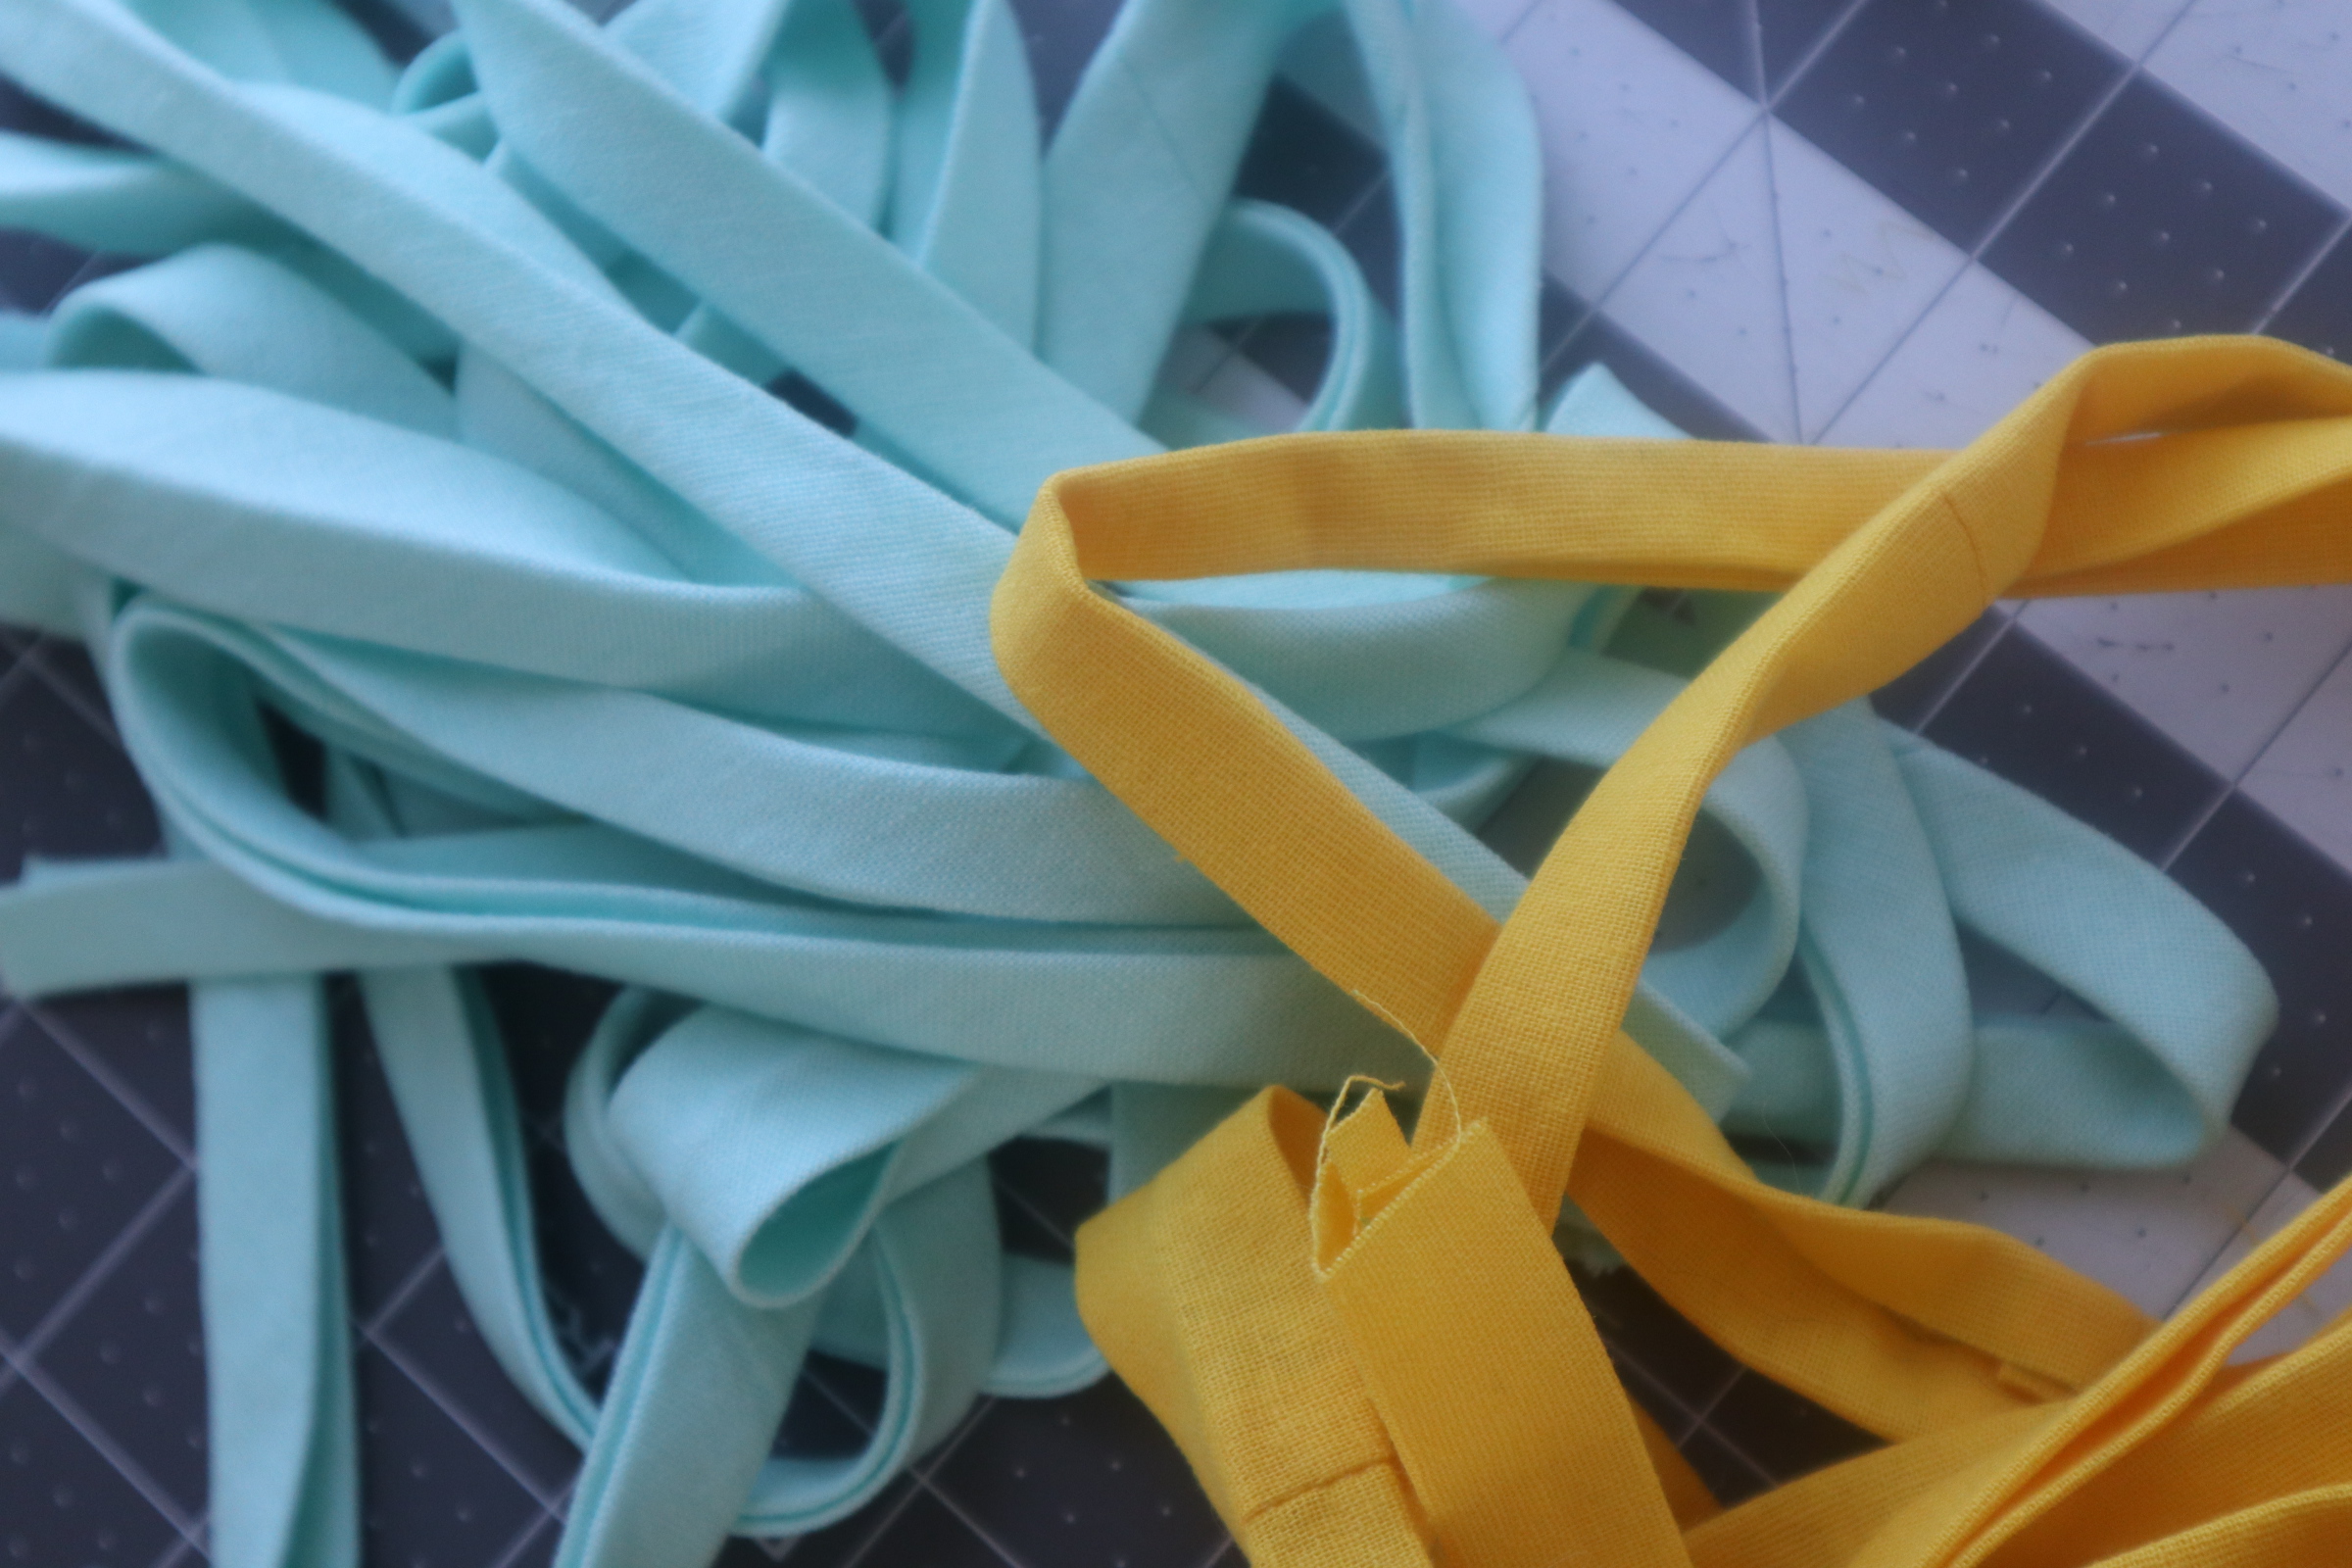
Bias Tape is a long, thin piece of fabric that is used to hide a raw edge or bind pieces of fabric together. It’s often used on quilts to hide the edges and on garments.
There are different types: A single fold & double fold. In this tutorial, I will show you how to make both.
Ways to use
As stated earlier, there are 2 different types. A single fold has the edges folded once, and the double fold (as you can probably guess) has the edges folded twice. Typically, you’ll find a double fold on the outside of a piece whereas a single fold is typically used inside a piece, like a dress, to hide the raw edges.
You don’t just have to use it to finish your raw edges, but also for decorative pieces.
Ties on a dress or a bonnet, a strap for a bag, or maybe make a bow to add to a make to elevate it ever so slightly.
It can be used for multiple things, just be creative!
Buying Vs Making
You have the option to buy or make bias tape.
Now, it may be easier to just buy, which as a very new beginner, that may be the best route.
Personally, I think (as many others do), it’s a lot more cost-effective to make your own instead of buying. You can easily take a square or rectangle of fabric and make PLENTY of bias tape, way more than you would purchase.
However, it depends on how much sewing you intend to do if the amount of work is worth it.
How to Make your Own Bias Tape
I’m going to share the 2 different ways I know:
- Straight bias tape
- Continuous bias tape
For both of these techniques, we are going to make the strips 2″ wide.
Straight Bias Tape
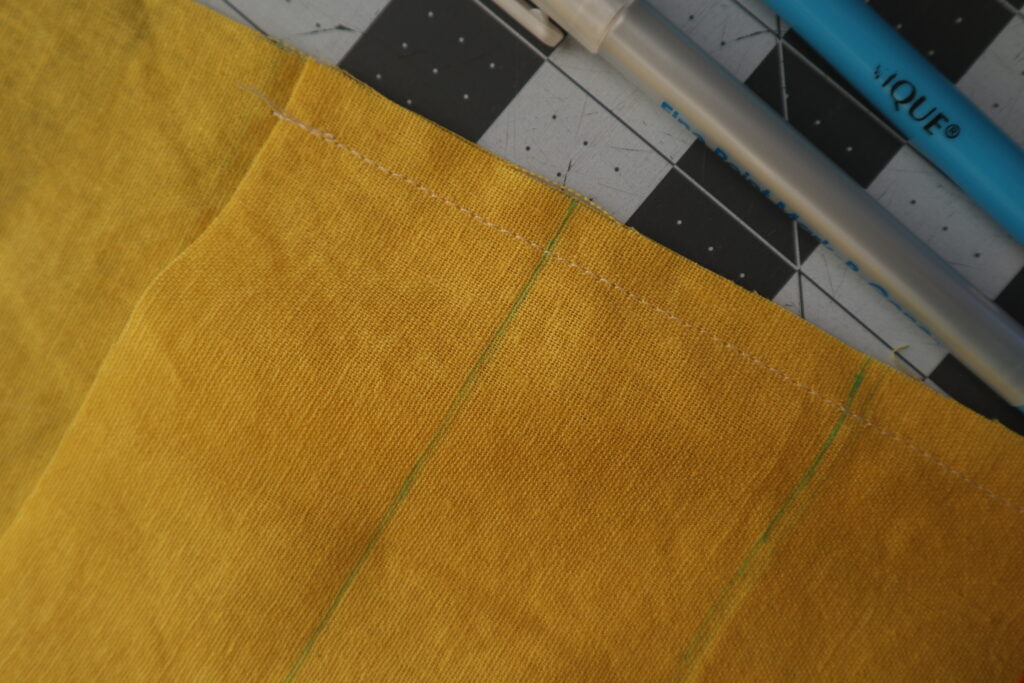
Taking your fabric lay it out and measure the width you’d want (recommend 2 inches). Taking a water soluble marker or a fabric marker of some sorts, trace out your bias tape.

Picking up your fabric, face the right sides towards each other (the wrong side will have the markings on it). Line up the markings, but making sure to offset the fabric like in the images below.
Pin the fabric together and sew together with a 1/4″ seam allowance. Once down, make sure you iron the seams open.
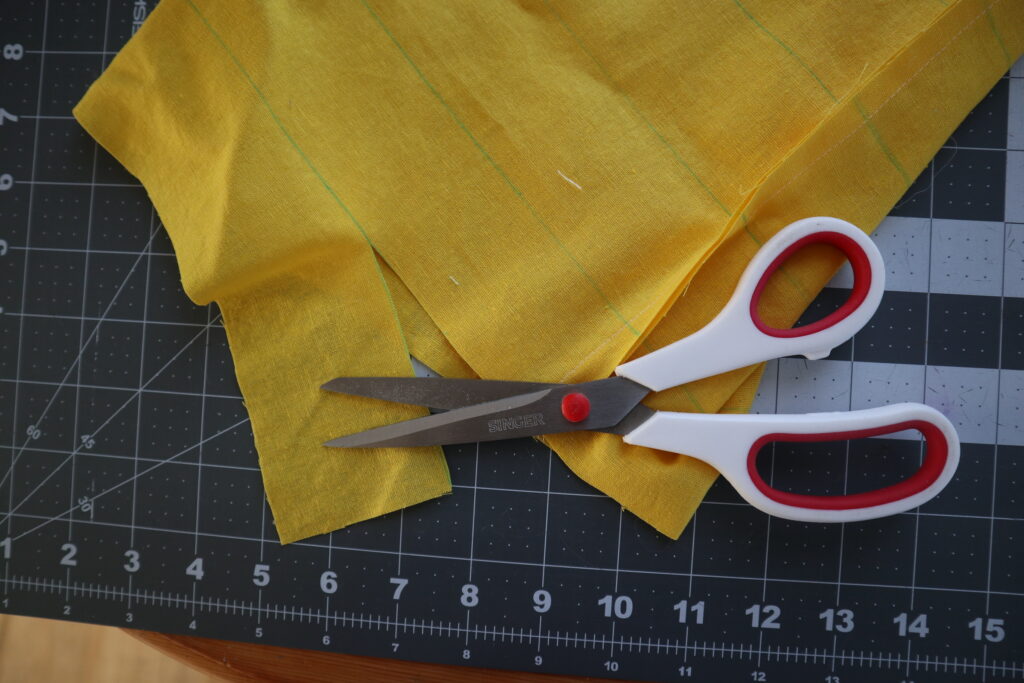
Cut the fabric along the markings you made previously.
To learn how to press your bias tape, scroll past the continuous bias tape section.
Continuous Bias Tape
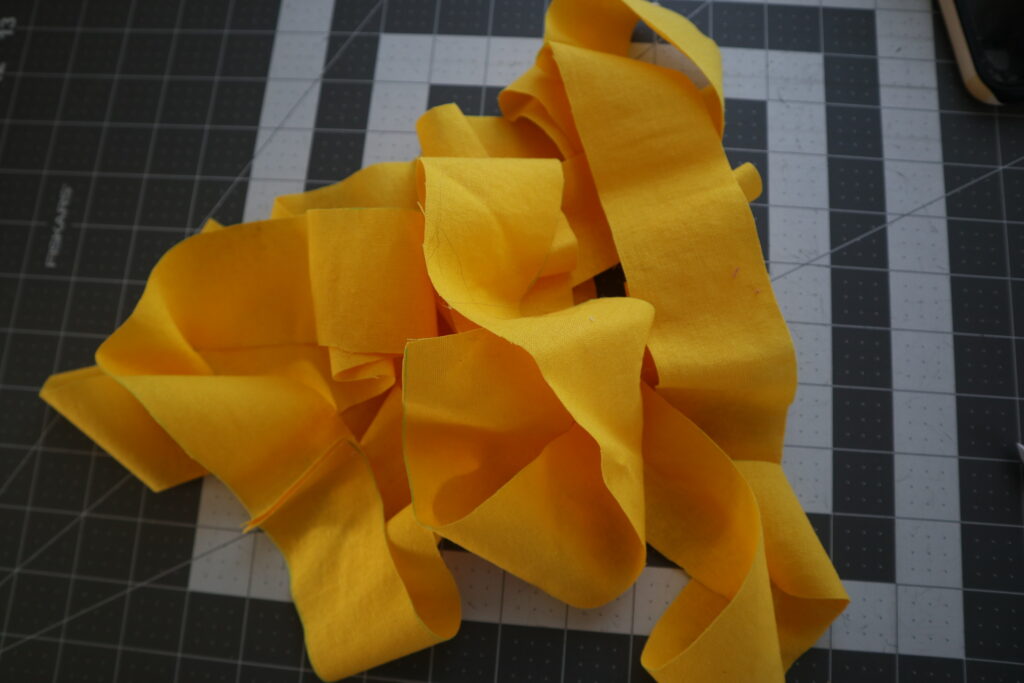
While the other technique is a lot easier, this one will give you plenty more bias tape.
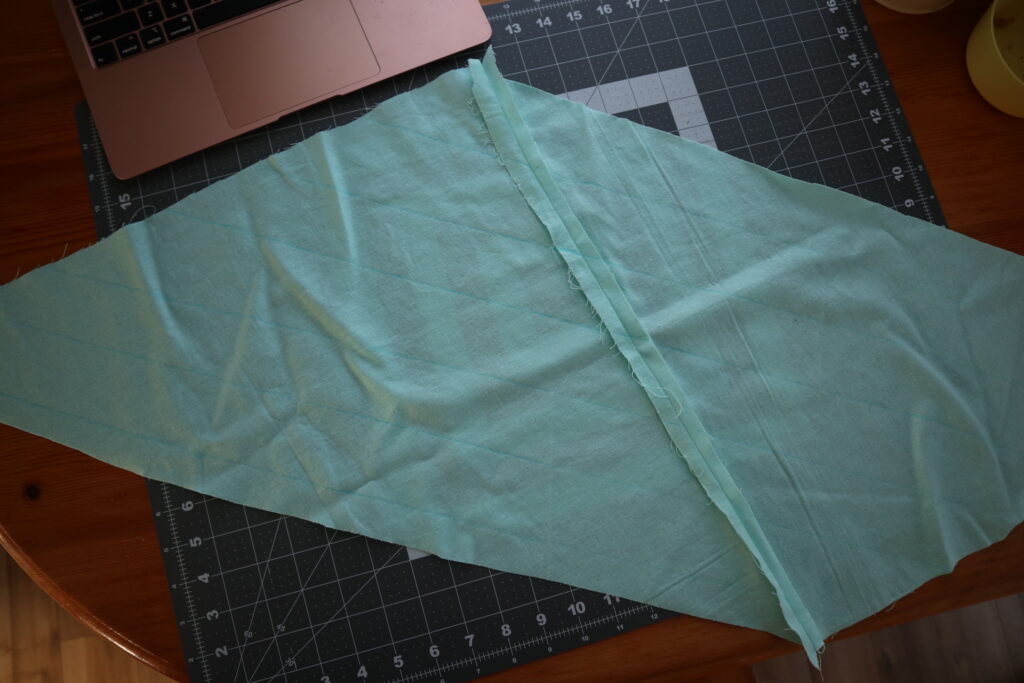
Cut out a square of fabric. I tend to do a 20″ x 20″ square. An easy way to do this is fold the square in half diagonally to create a triangle. There will be a small piece of rectangle fabric remaining. Just cut that off and you have your square.
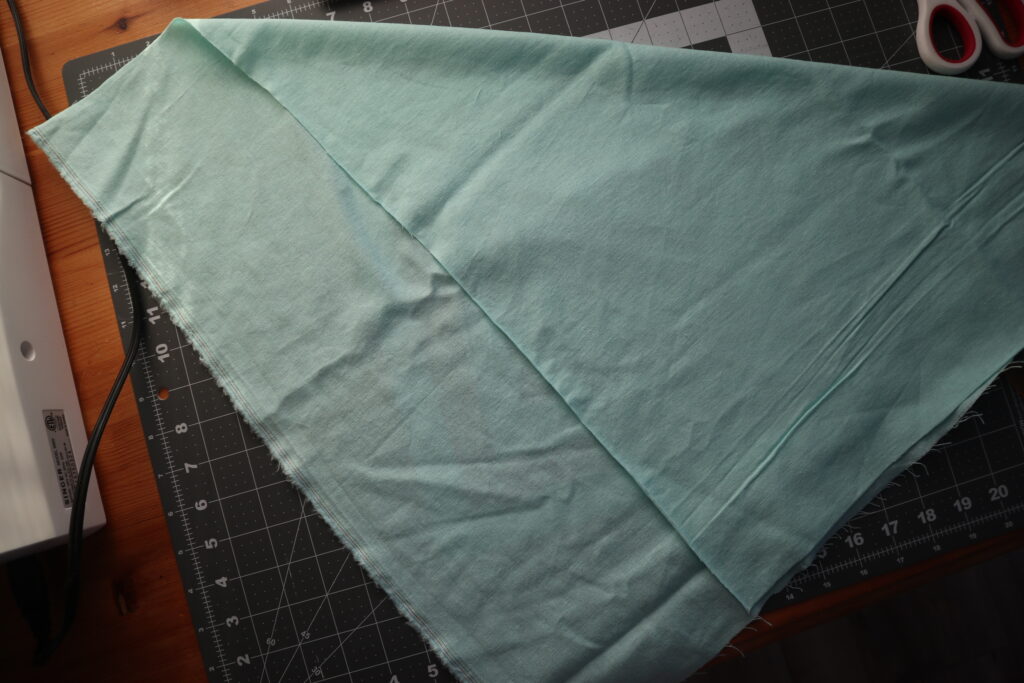
Once you have your square, fold it diagonally to create a triangle. Cut it in half. You now have 2 triangles. Taking your triangles, ensuring right sides are facing each other, put them together like in the image below. Sew together with a 1/4″ seam allowance. Press seams open.

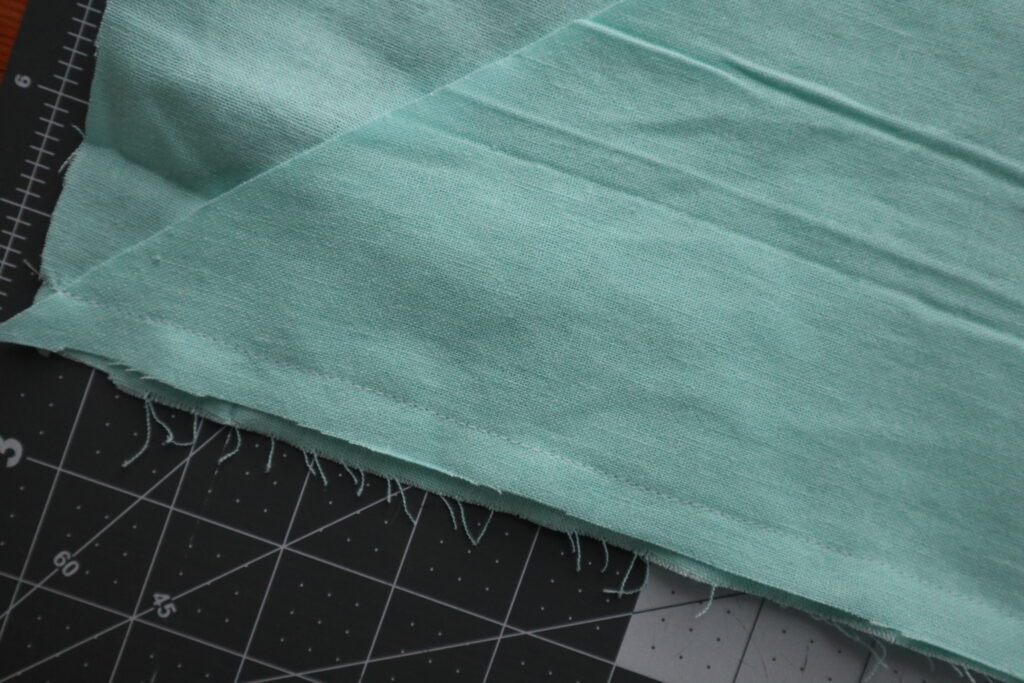
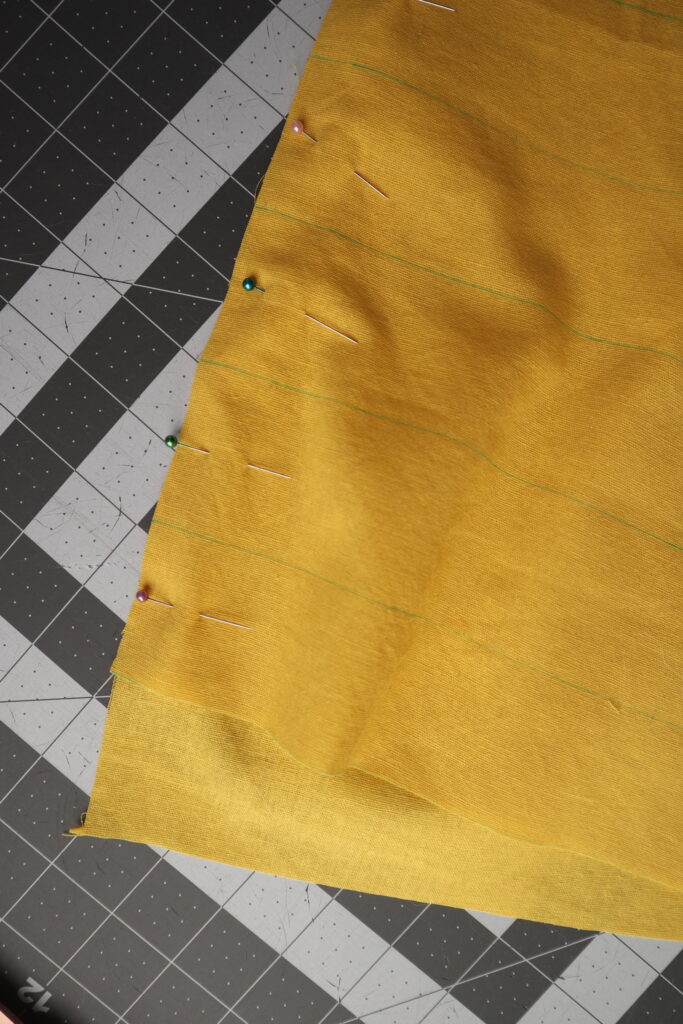
Taking your fabric & a ruler, measure out how wide you want your bias tape (Recommend 2 inches). Using a water soluble marker or some kind of fabric marker, mark the lines.
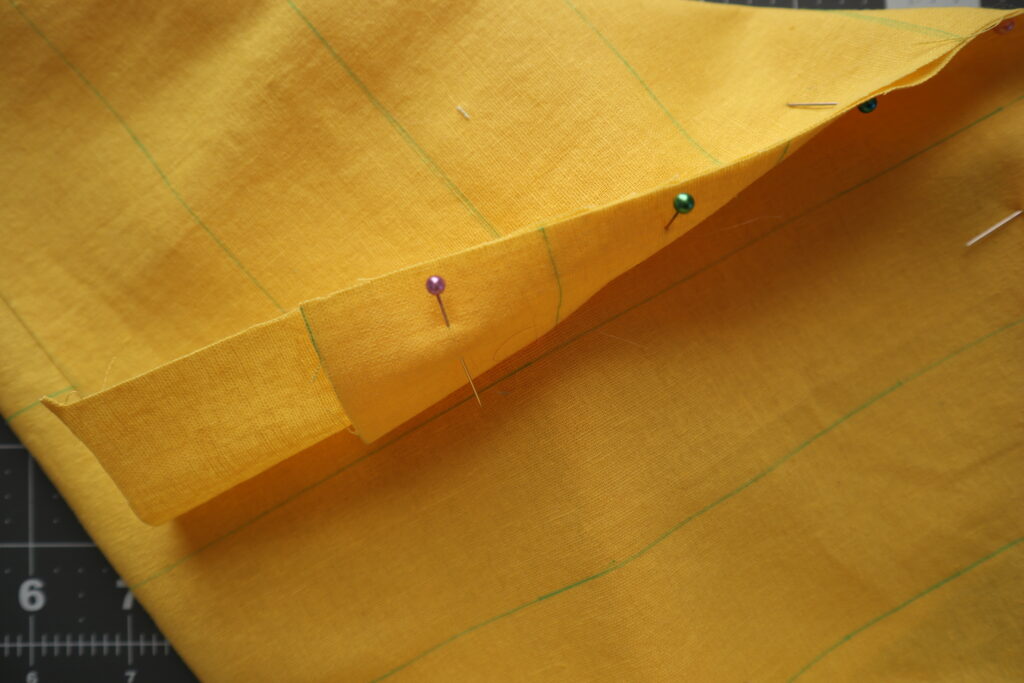
Taking the fabric and making sure right sides are facing each other (the side with the markings on it is the wrong side) ,we are going to match up the lines. Make sure you offset by one line like in the image below. Once all the lines are paired up, sew the pieces of fabric together with a 1/4″ seam allowance. Press the seams open.
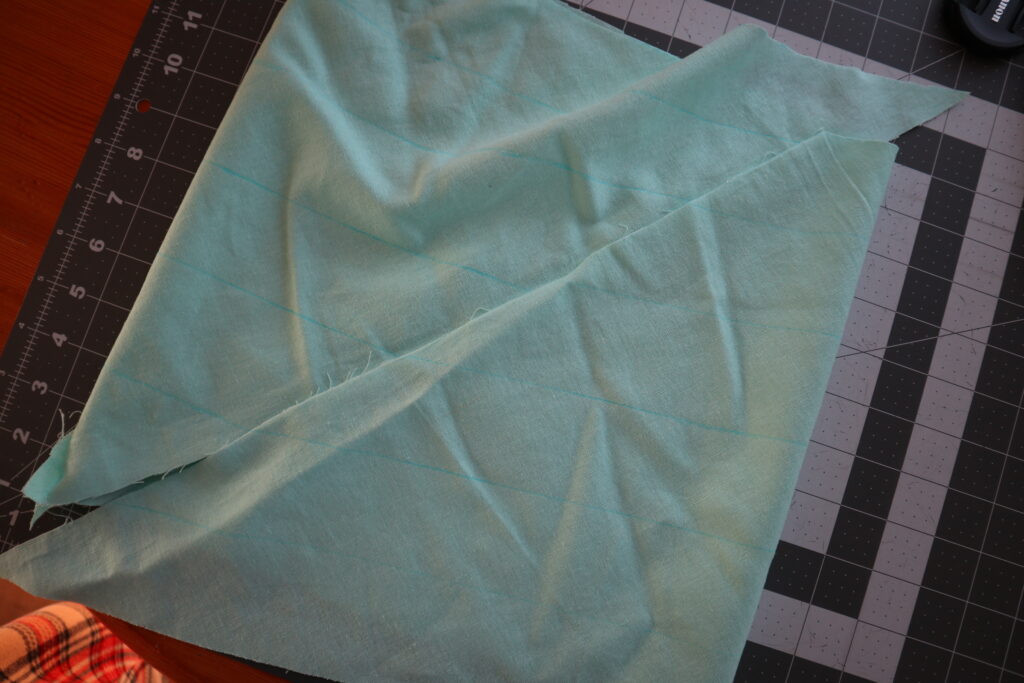
Once it’s sewn and pressed up, start cutting along the markings.

How to Press your Bias Tape
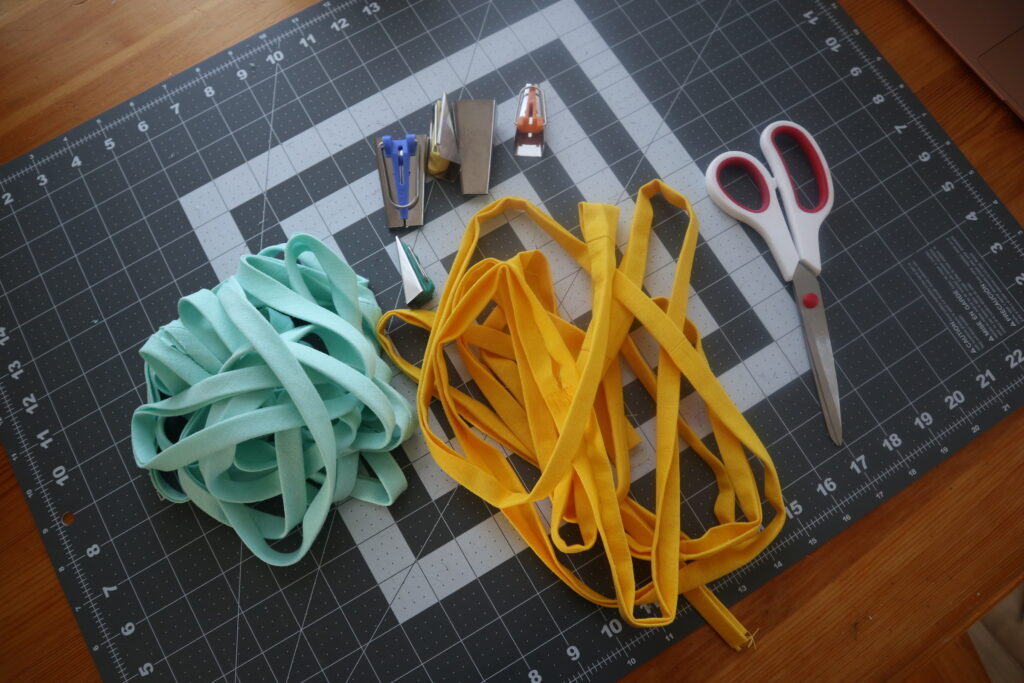
First off, if you’re planning on sewing plenty of pieces, I highly suggest grabbing a bias tape maker (image below). They will be your best friend when it comes to pressing your tape.
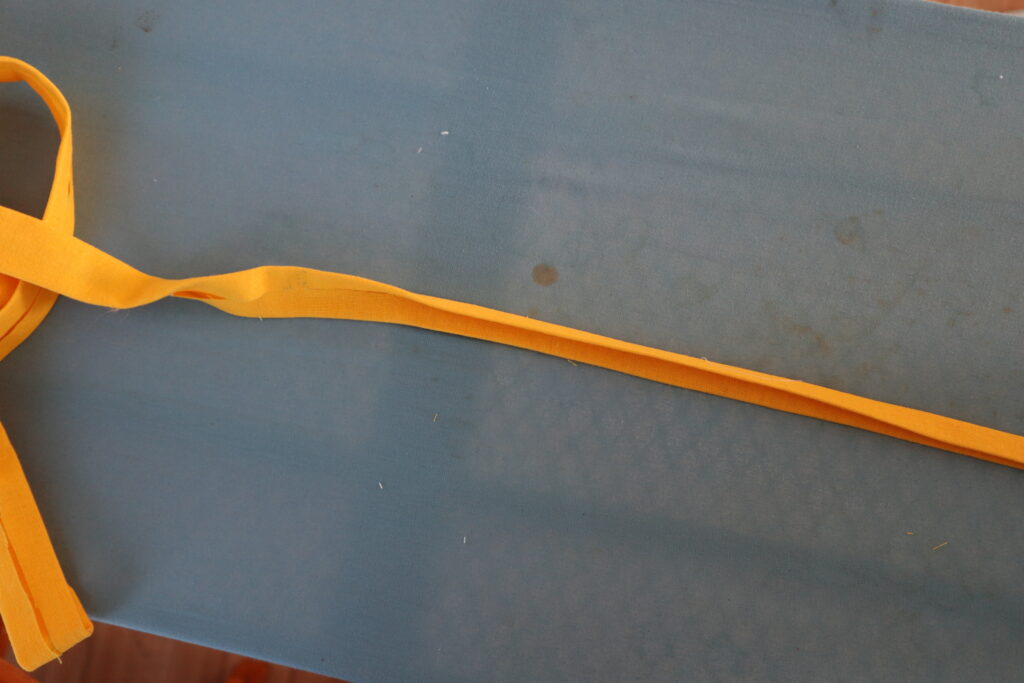
Taking your freshly made bias tape, fold it in half and press. Then making your bias maker, put the tape through.
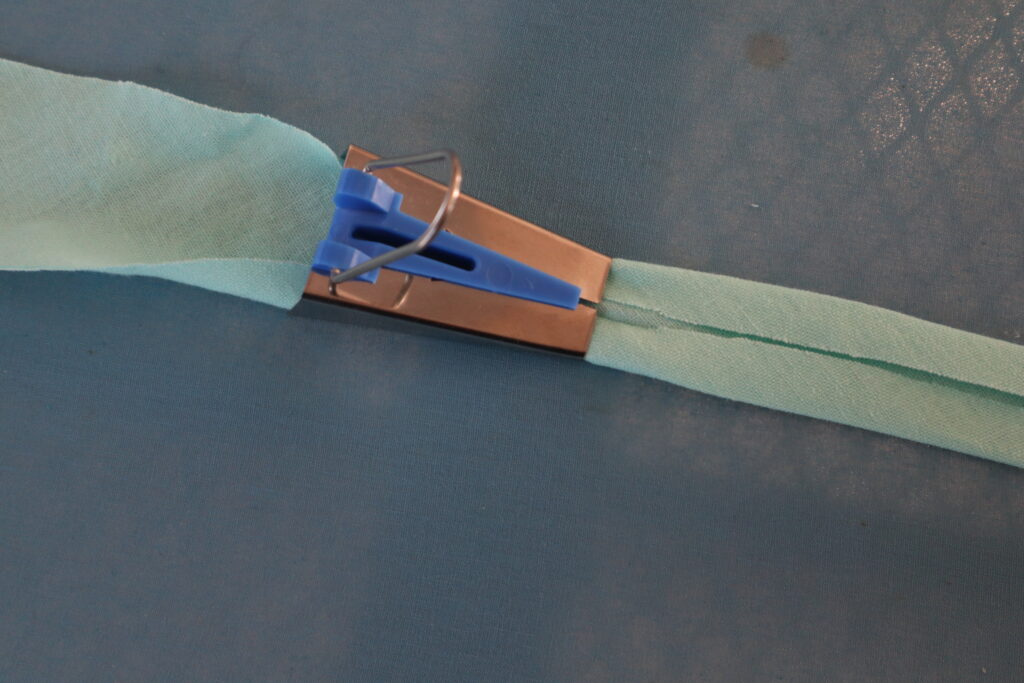
Now comes the easy part! The maker is going to do all the hard work. Just slightly pull on the maker so it folds the outer pieces of the fabric inwards and press with your iron as you go. This is a single fold.
If you want to make a double fold tape, take the fabric fold it in half and press again.
You’ve now made your own bias tape!
Now customizing your handmade items just got a little bit more fun! Use a contrast fabric to make the binding pop or match the colour to your project for a cohesive look.