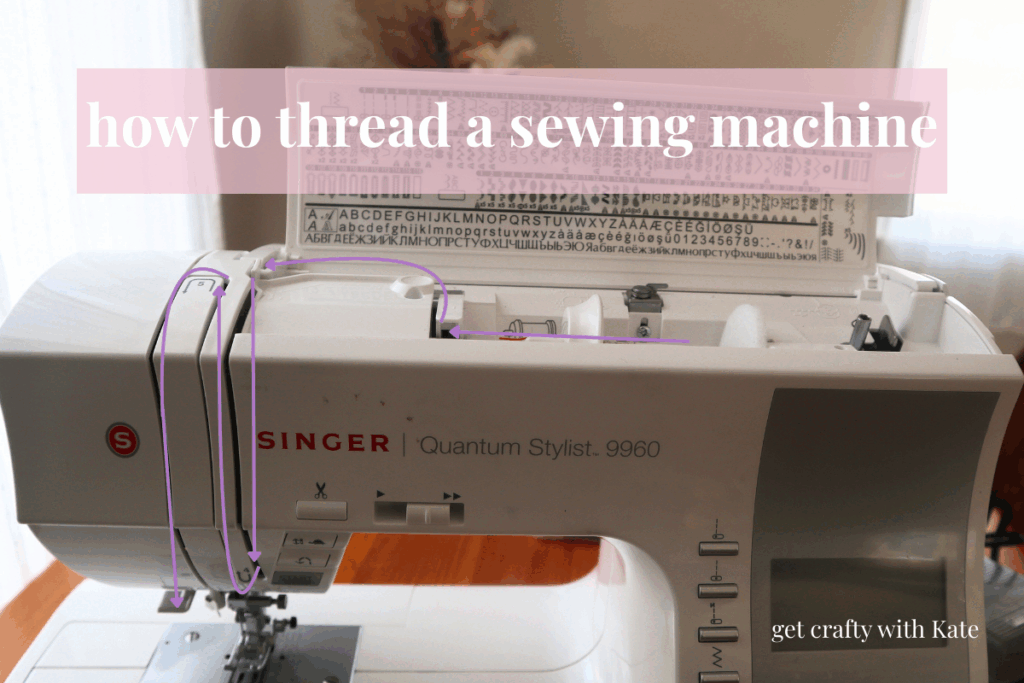
Sewing for Beginners: How to thread a sewing machine
Maybe you’re a complete beginner or picking up your machine after a long sewing hiatus. Whichever one you may be, this broken-down guide on how to thread a sewing machine will help you get to sewing quickly!
Sewing is a great hobby to pick up, but often, when beginners are first learning to sew, threading the machine can be daunting. I remember when I first learned how to sew. Even though my grandmother showed me, & I had a manual, I always tended to somehow mess up.
How to thread a sewing machine
First and foremost, if you happen to have your manual for your sewing machine, please have that with you. Sometimes, just having the extra visuals (like my blog post!) can be an added asset to your manual.
So wait? What does it even mean to thread your machine?
Threading your machine, is when you place your thread on the spool on top of your machine, and then feed a single piece of thread through your machine.
By guiding your thread through, and threading your needle, your sewing machine is able to pull the thread and create stitches.
Now, just because you guide your thread through your machine, doesn’t mean it’s going to be sunshine and rainbows. You also need to make sure your tension and stitch length are set up properly.
Threading a sewing machine
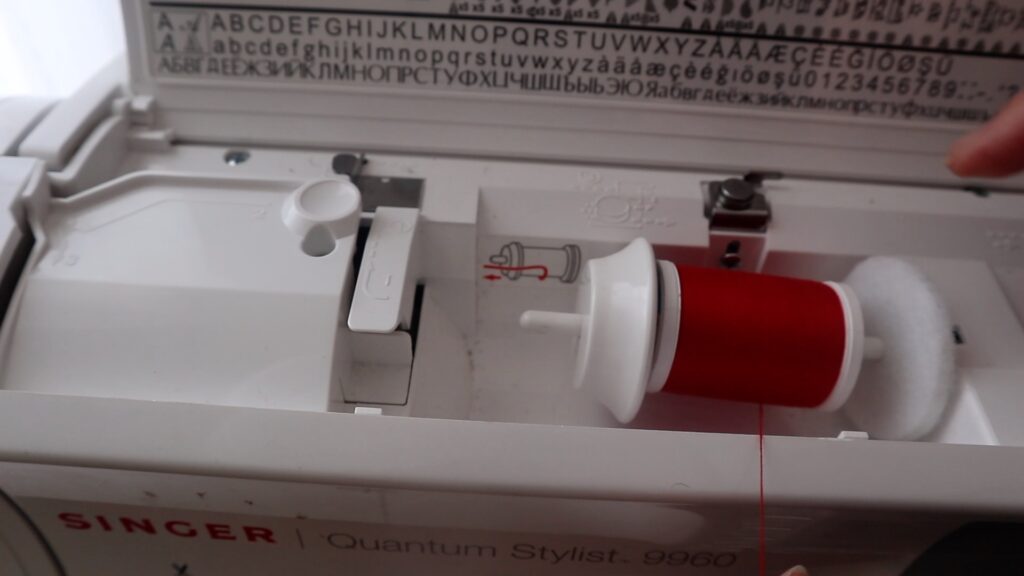
When putting your spool of thread in your machine, make sure that the thread is coming from the bottom, like shown in the image above.
Bringing the thread over, we are going to pull the thread up through the first crevice which should be labeled on your machine as step 1.
Then, we will bring the thread over towards the front of the machine. Pull the thread down the first crevice on the front of your machine. By now, you should have completed steps 1 to 4 on your sewing machine.

Now that the thread is pulled down, loop it under and around and bring it back up.
And we are looping the thread again (honestly, the looping up & down are my favourite parts).
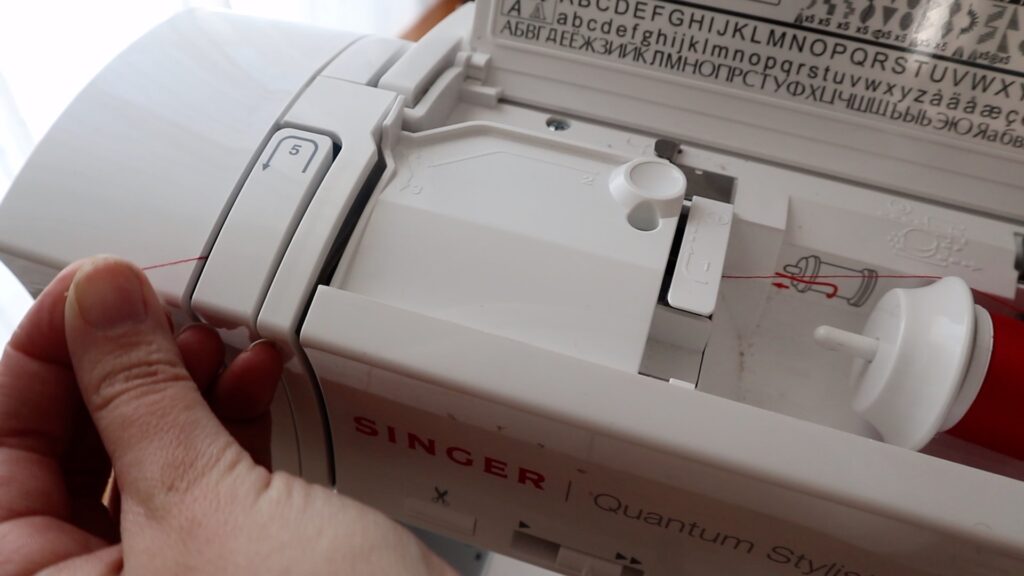
Bringing the thread back down from step 5, now the thread should be in front of your needle.
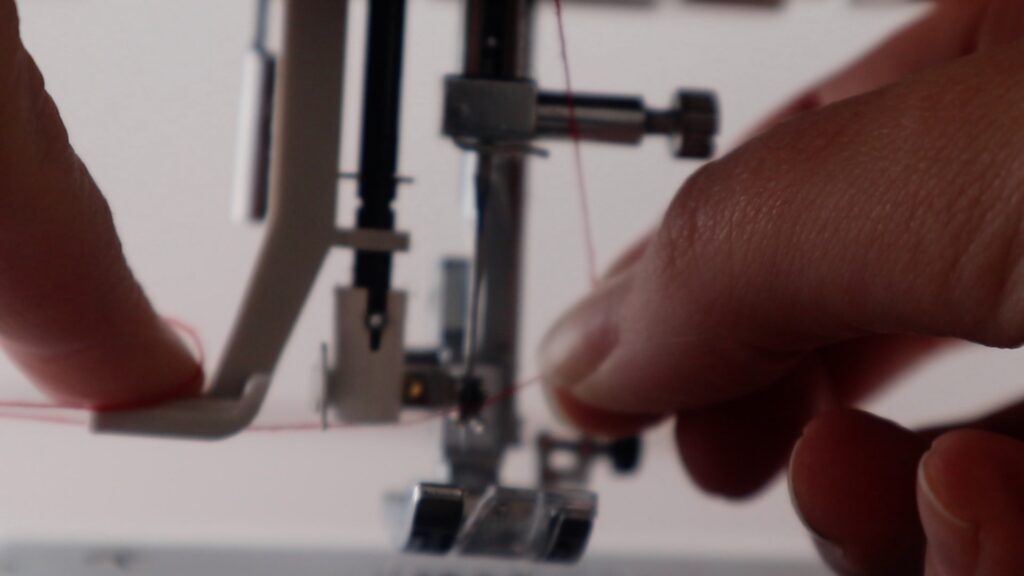
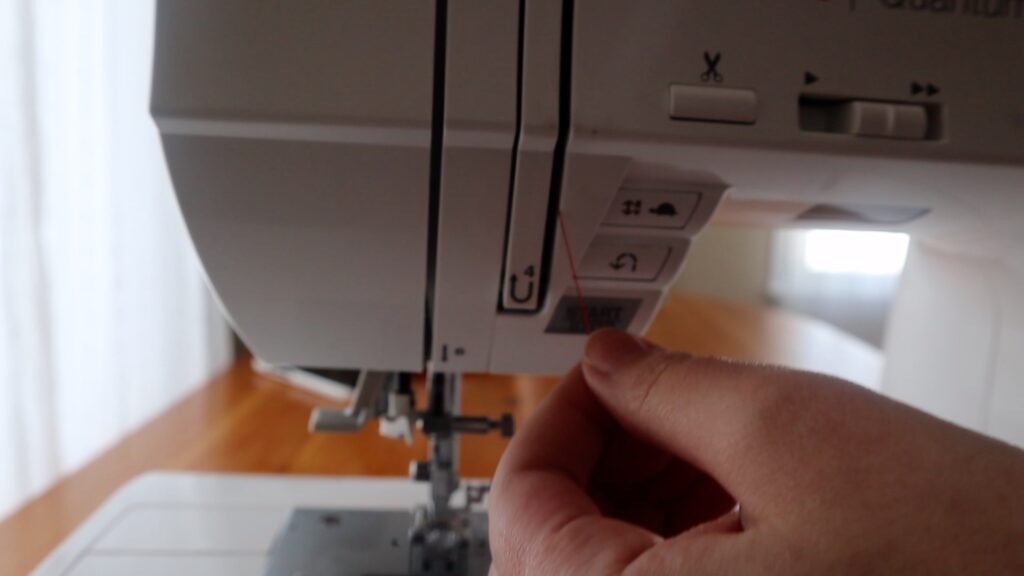
Most machines have a thread feeder, which is LIFE-saving! My first ever sewing machine, I had to feed the thread through the needle manually. And no, it didn’t teach me patience.
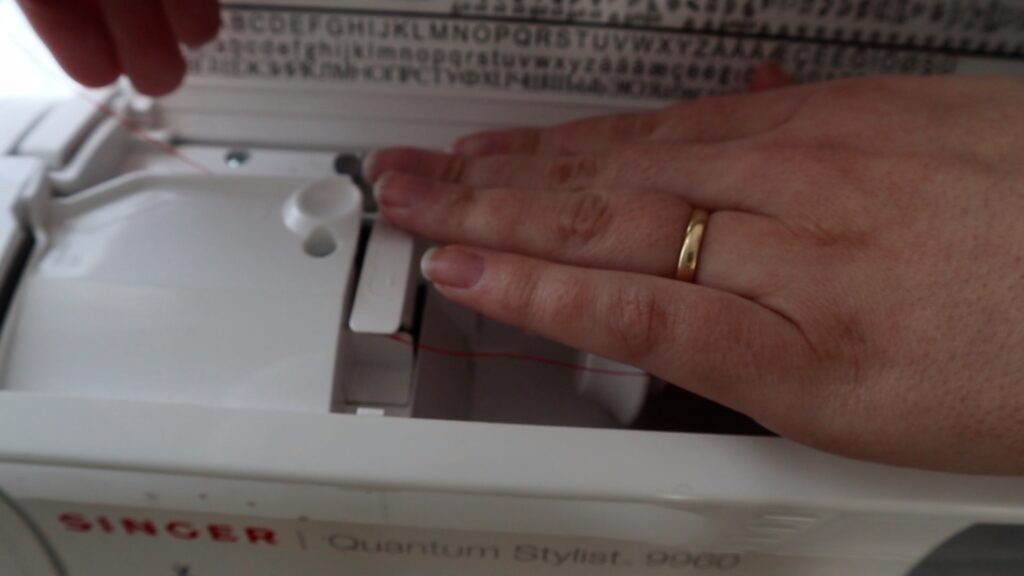
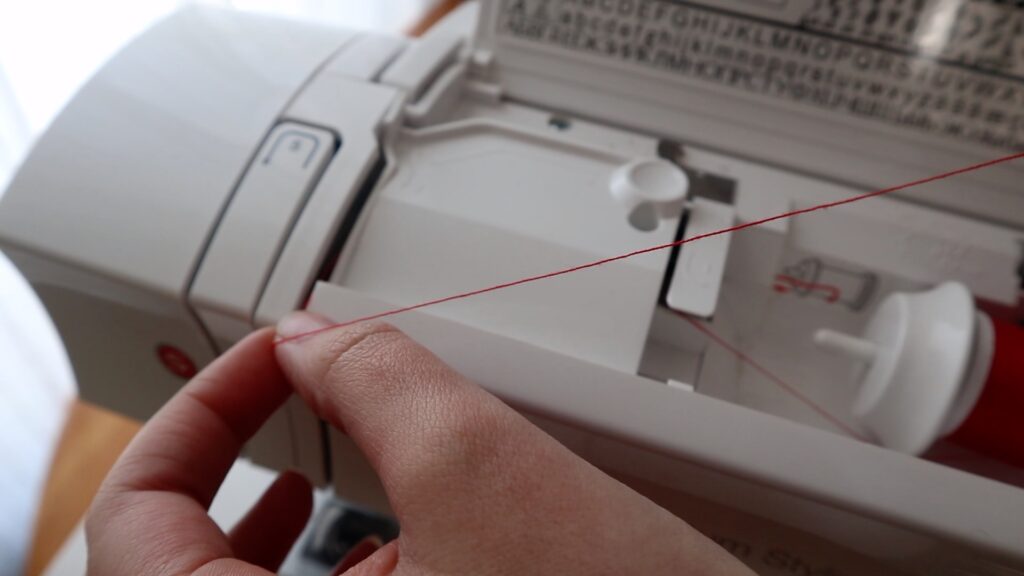
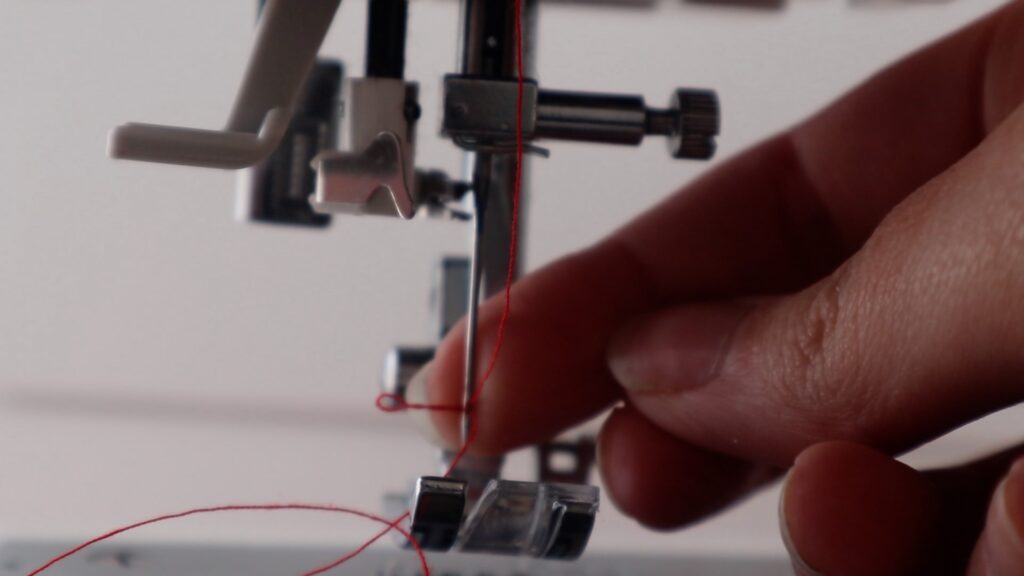
Take your thread down, ensuring it’s behind the small pin (refer to the first image above). Make a backwards 4, ensuring that the thread lines up with the pin hole.
While still pinching the thread with your right hand, take your left hand (which should still be holding onto the thread) and press down on the thread feeder.
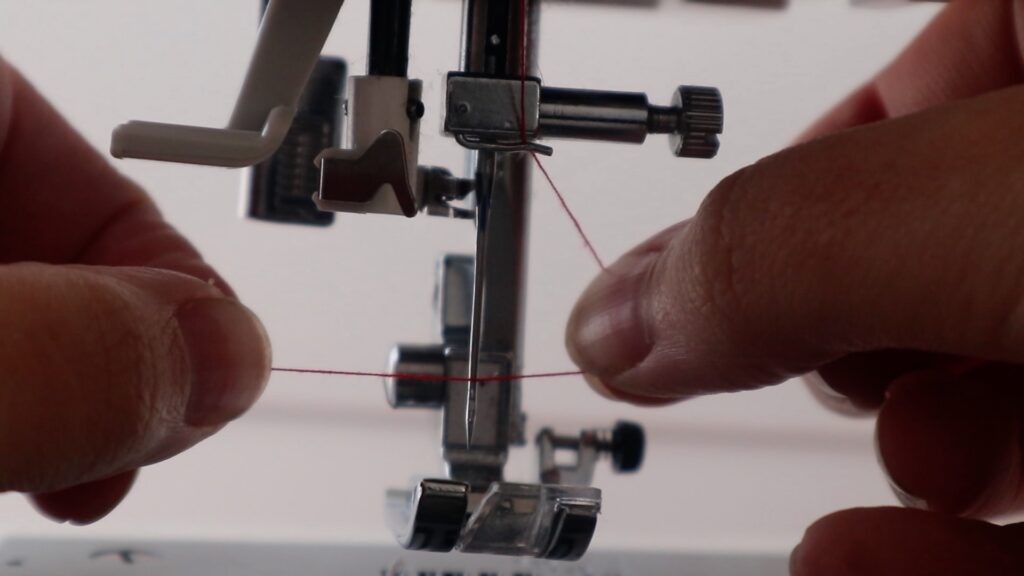
When this happens, it will grab the thread through the pin hole and pull it through. Once the thread is through, pull the rest of it.
Threading the bobbin
Now that we have the top done, we need to do the bottom. In my machine, threading the bobbin through the machine is very simple.
In my previous machine, it was not even close to as simple as it is now! I’ve noticed that most machines coming into the market have the same mechanisms for the bobbin, so hopefully this will be of help to you.
If not, please reach out and I can help you!
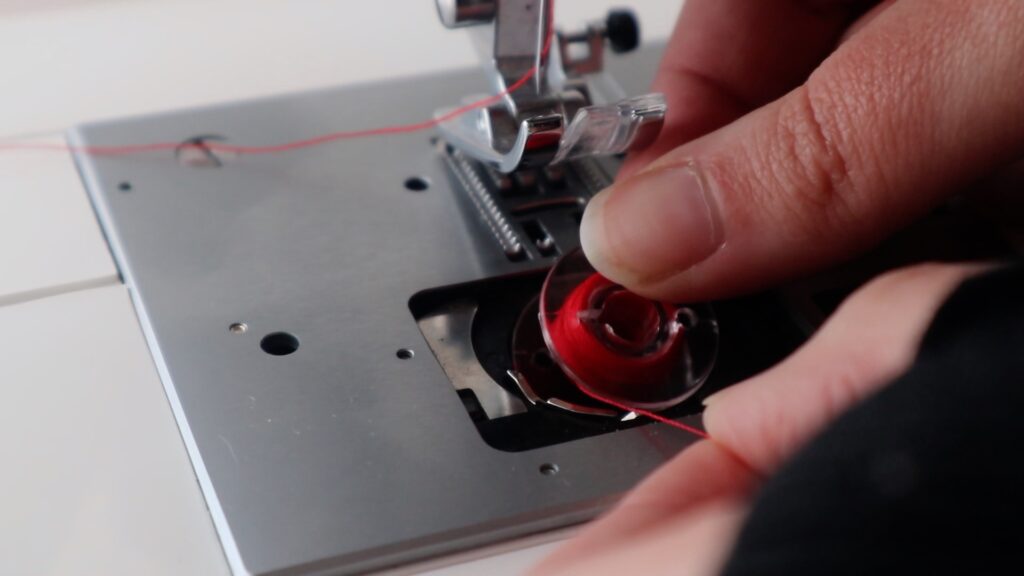
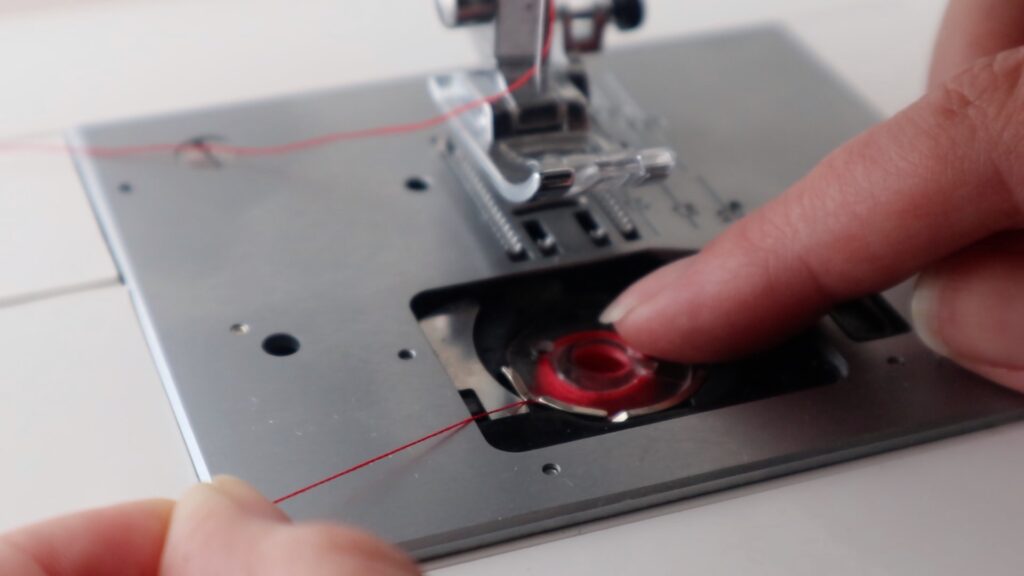
Placing the bobbin in your machine, you’re going to ensure the thread is going counter clockwise.
Grabbing the thread, pull it out and over towards the left side of your machine.
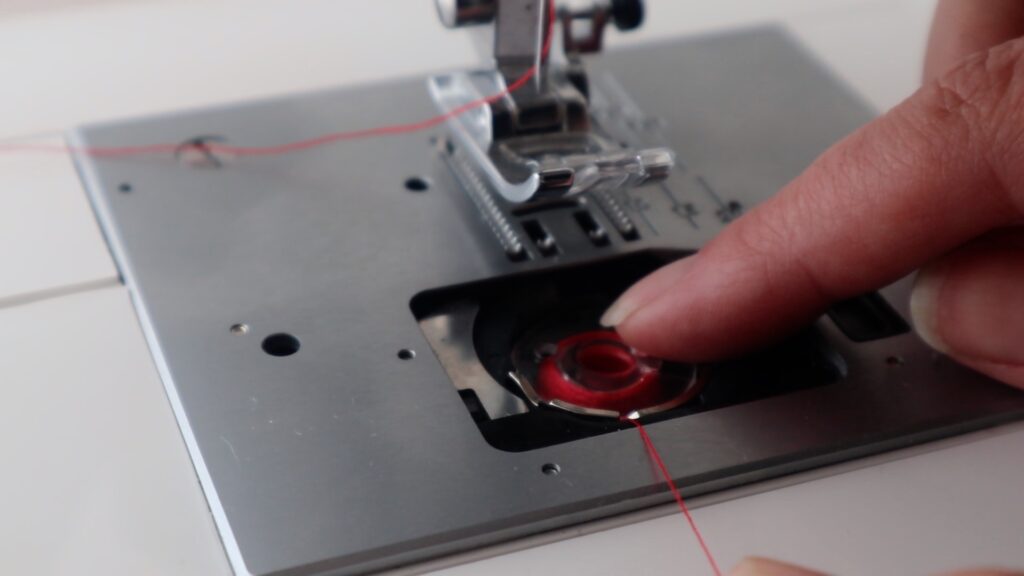
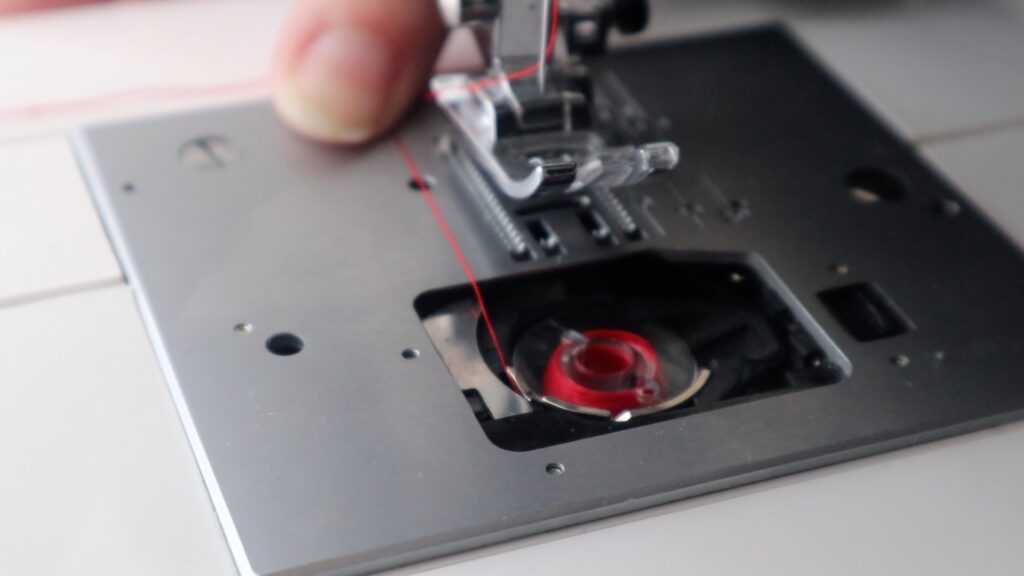
There is a little metal lip. We are going to pull the thread around like in the last image.
Once the thread is pulled towards the back of your machine, grab the little plastic cover and snap it back into place!
And you’ve done it, you’ve threaded your sewing machine! Time to start sewing