Knitting for Beginners: How to Purl
You always hear “knit and purl” but what is the purl stitch, and how do you knit the purl stitch? Well, I have the answers for you.
When it comes to learning how to knit, there are two basic stitches that are needed to knit anything and everything. Those 2 stitches are knit & purl.
Learning how to purl is super easy and once you get purling down, you can knit anything!
Are you just starting your knitting journey? Then this is the perfect place for you. I am here to be your knitting educator.
What is the Purl Stitch?
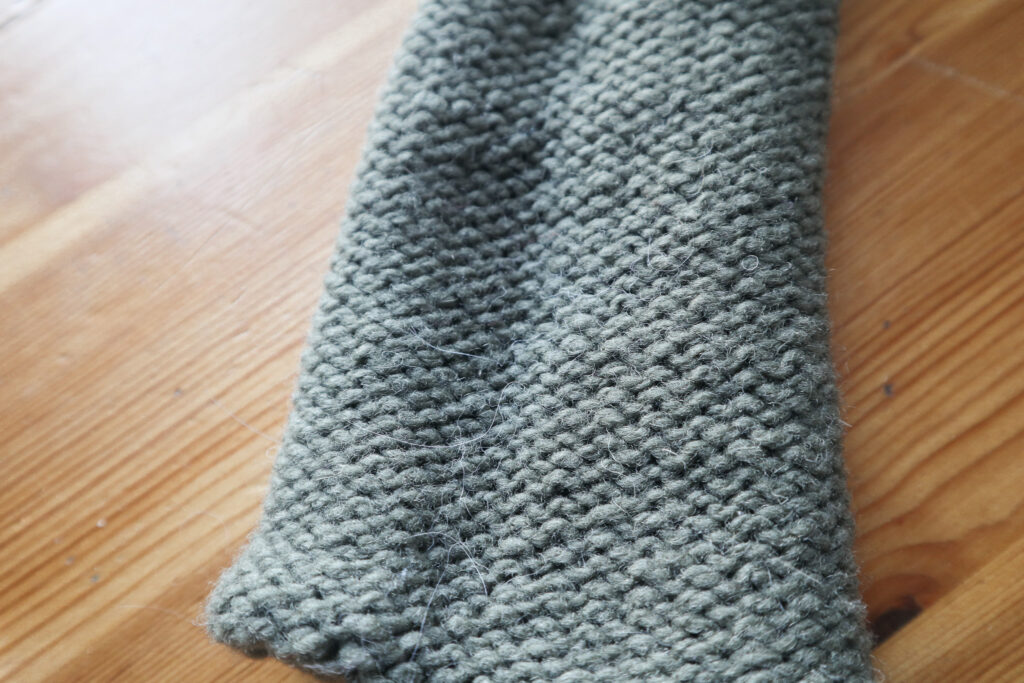
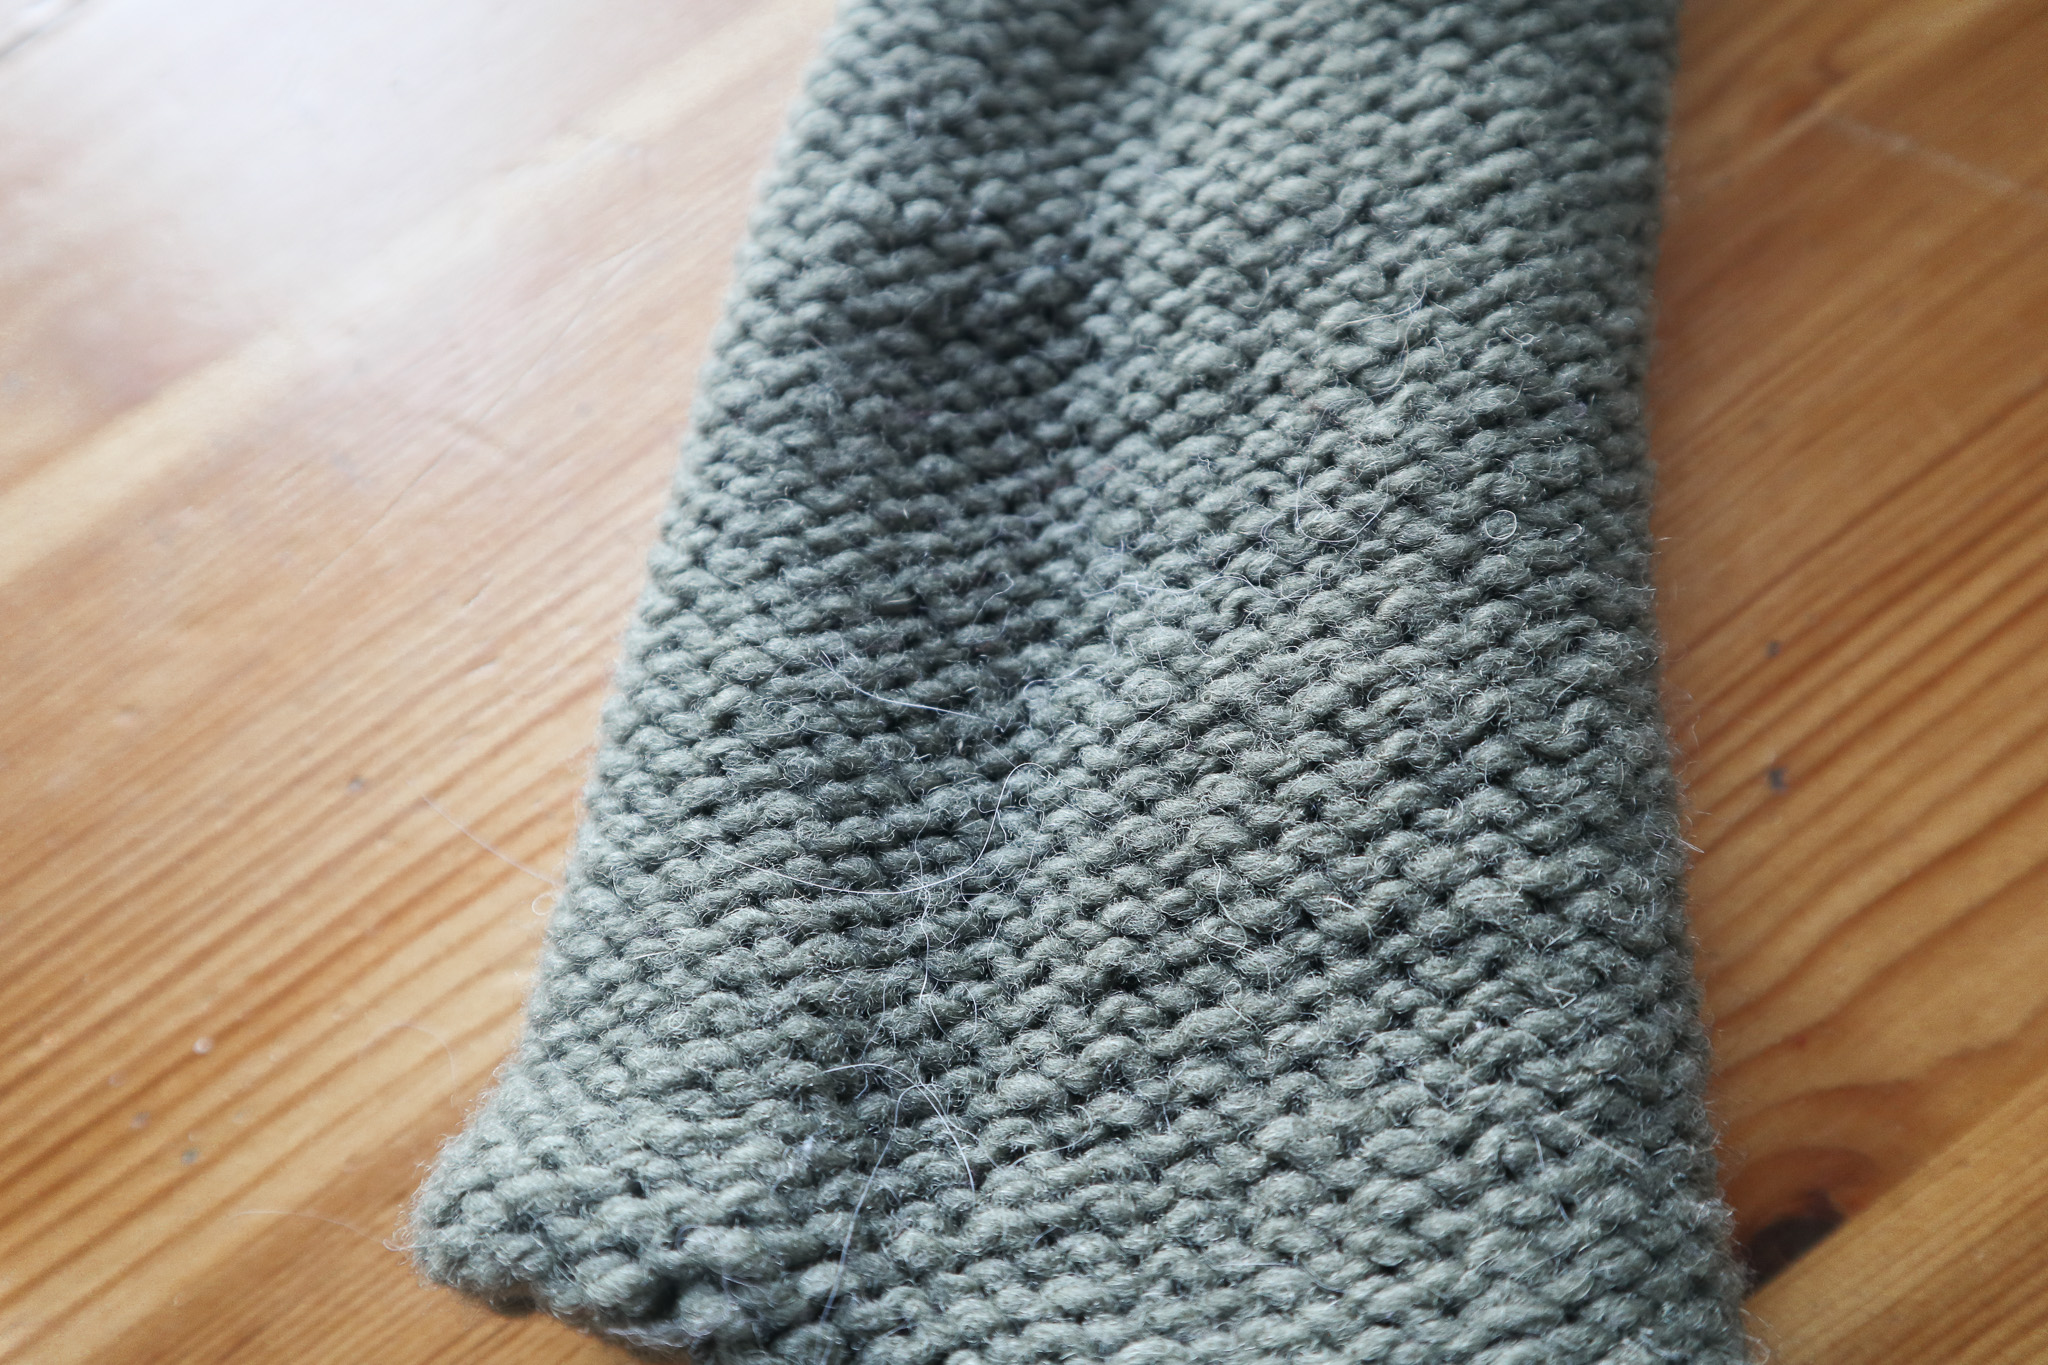
The purl stitch, unlike the knit stitch, is knitted from the front instead of the back.
It has a bump like feature, pictured in the image below.

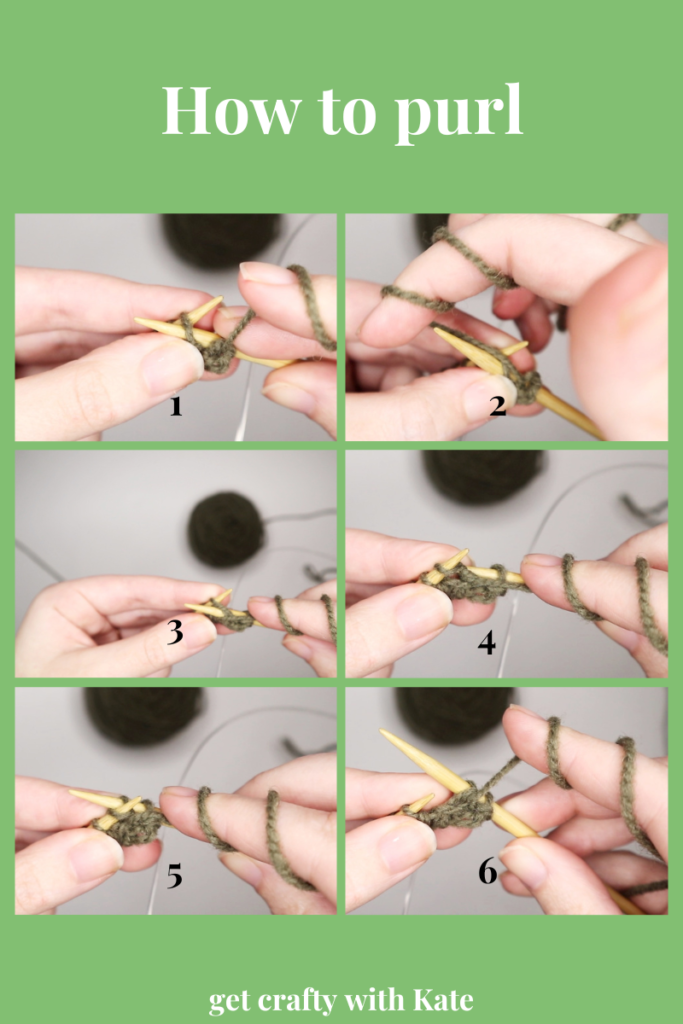
How to Purl
Make sure that you have stitches cast onto your knitting needle.
An important difference between purling and knitting is the placement of the working yarn & needle.
With purling, you are inserting the working needle into the front of the stitch and keeping the working yarn in the front.
You can see these differences in the image below.

- Insert the right knitting needle into the front of the stitch on the left needle. Make sure that your working yarn is in the front.
- Taking the working yarn, we are wrapping it around the right needle, and pull down so the working yarn touches the stitch.
- Like what we did with knitting, we are going to grab that loop that we just placed on the knitting needles with our right needle.
- Pull that loop now through the stitch.
- You should now have 2 stitches on your right needle.
- Again, like we do with knitting, we are slipping that stitch on the left needle completely off.
Happy knitting,
Kate

