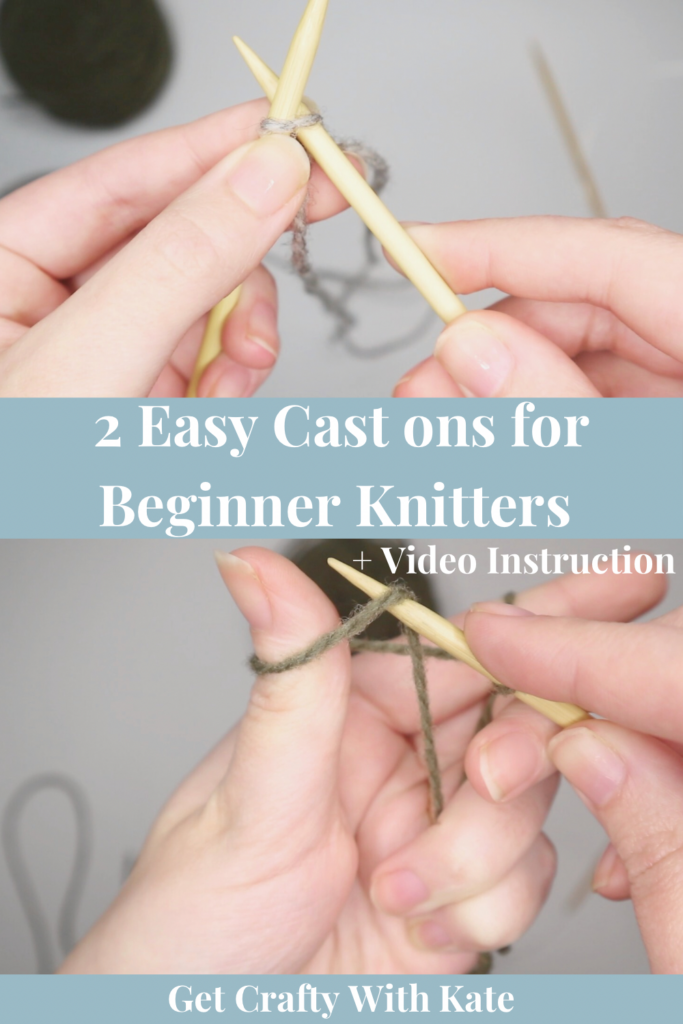
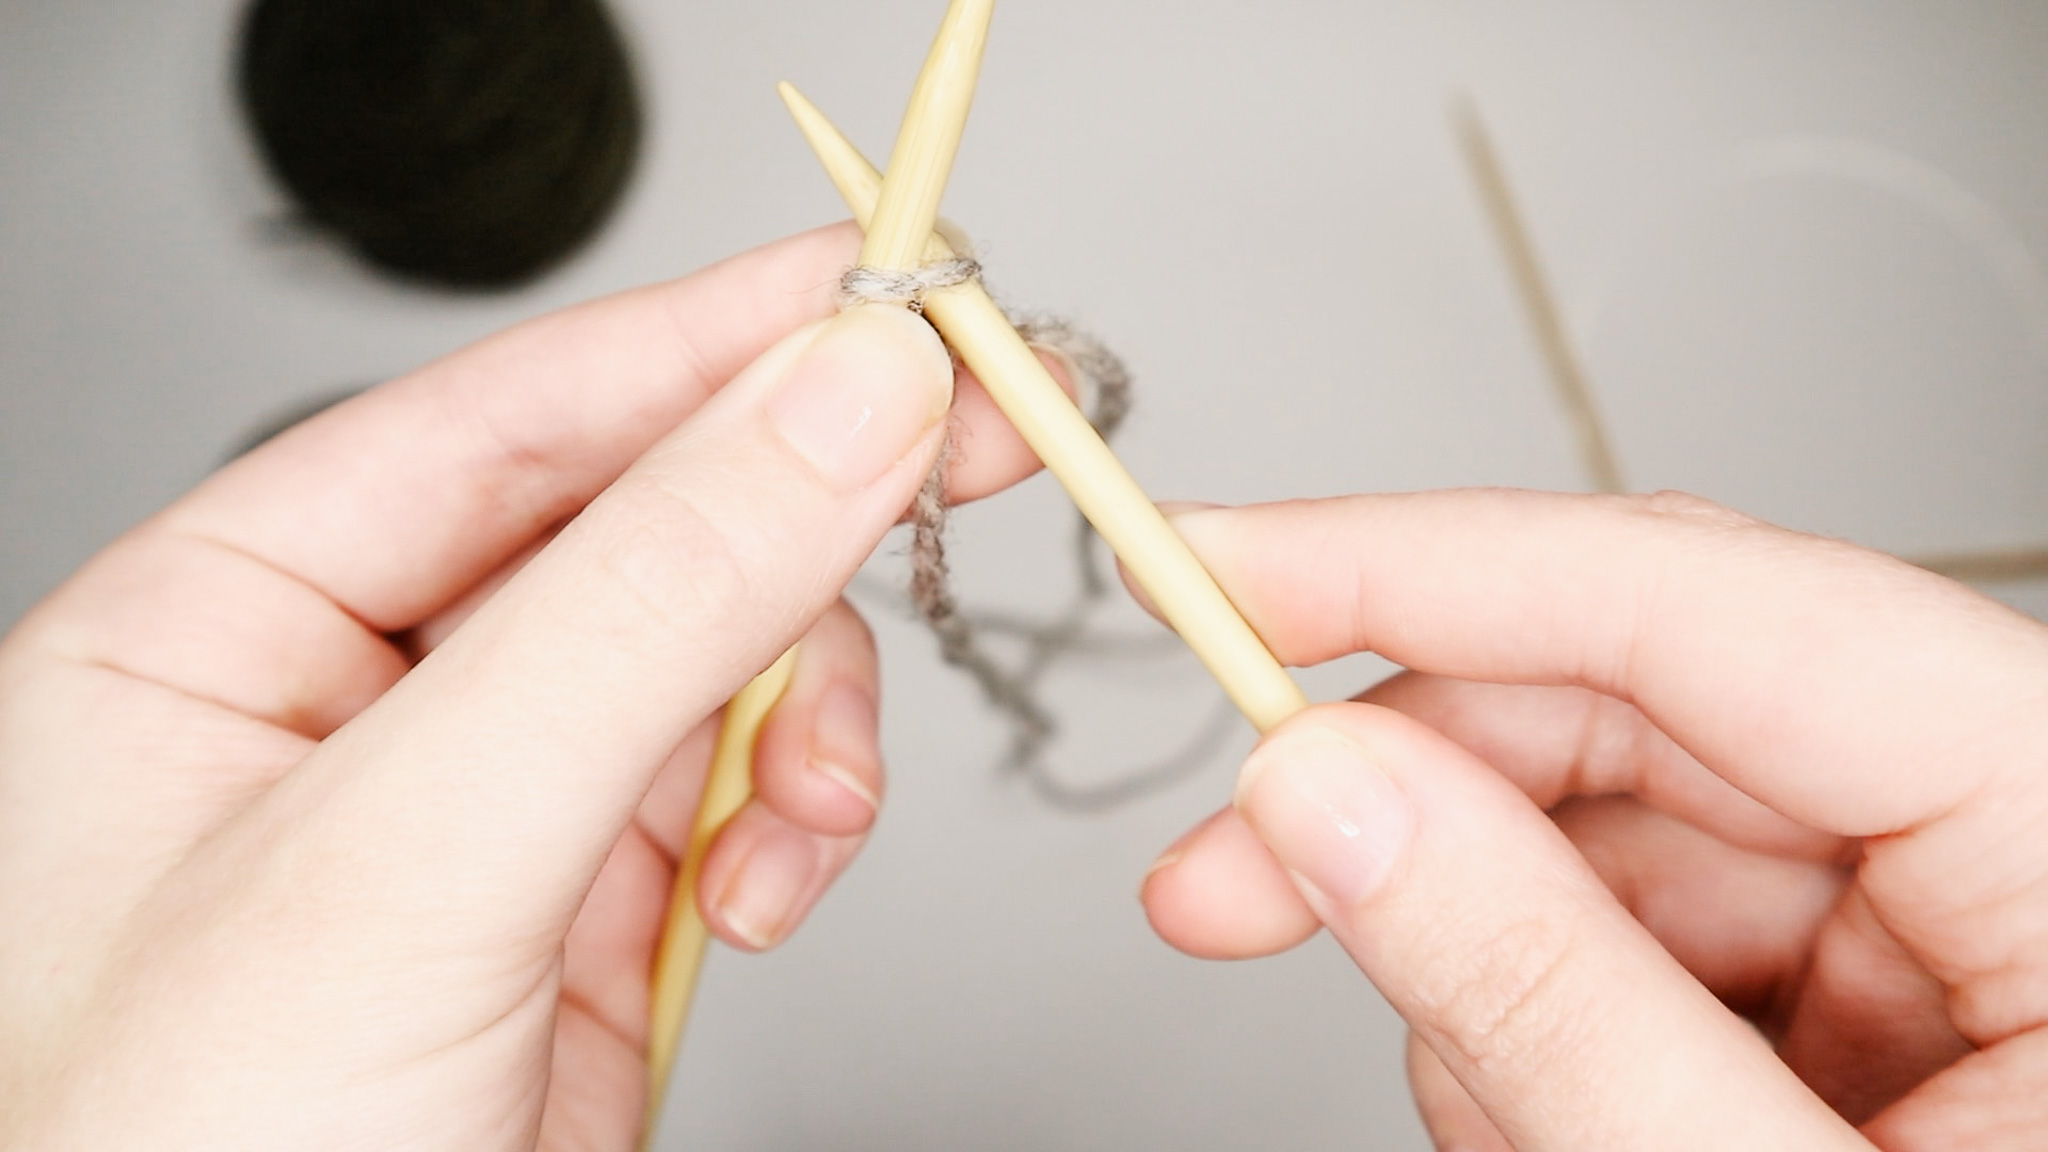
Knitting for Beginners: How to Cast on Knit Stitches
To start any knitted project, you have to get those stitches onto the needles. I’m here to show YOU, 2 effortless & simple ways you can cast on your stitches right now to start your knitted projects.
The 2 methods I’ll be showing are the knitted cast on, which is the easiest, most basic way to cast on stitches & the long-tail cast on. The long tail cast on is great for items that need a stretchier edge like a hat or a sweater.
These methods are not only the easiest but also the most common ways to cast on. Most knitting patterns suggest one of these cast ons.
How to make a slip knot
The very first step in casting on stitches is to get the stitches onto the needle. In order to do so, we have to make a slip knot.
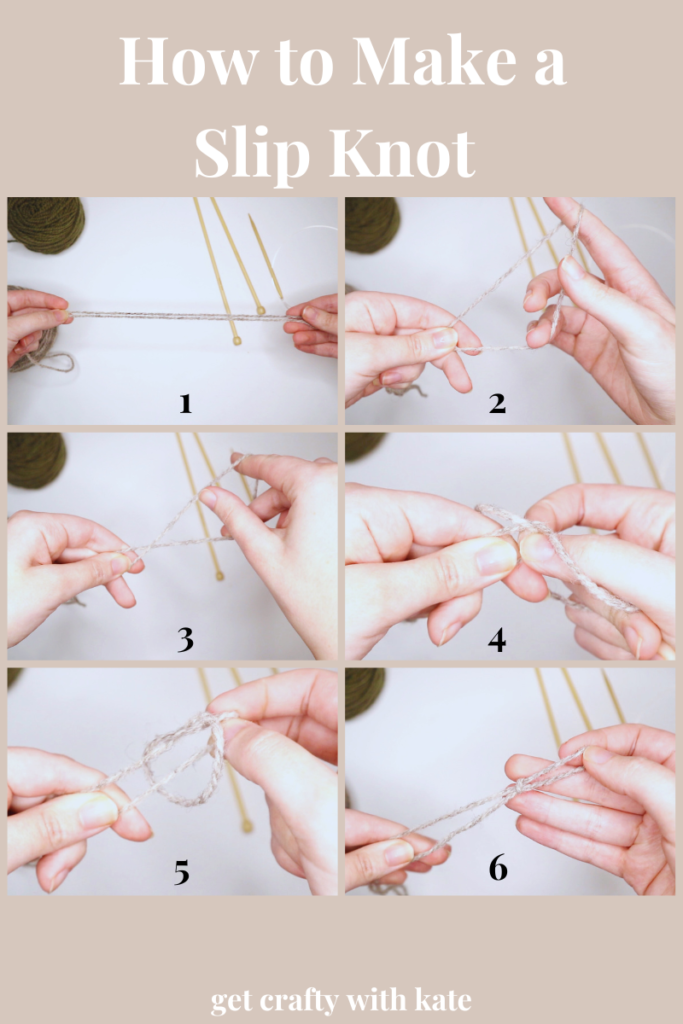
When we are working with the yarn, we refer to it as the working yarn & the tail. But what are they? Yarn coming from the yarn ball is considered your working yarn and the yarn on the other end is your tail.
- To make a slip knot, we must first grab the yarn like so. Fold the yarn to the length of the tail that you’ll need. Your working yarn will be the top string and the yarn from the tail will be your bottom string. Depending on the type of cast on will determine the length of a tail you’ll need. If you are doing a long tail cast on, you’ll need a longer tail.
- Holding both strings of your yarn in your left hand, take your right hand and insert your index finger & thumb in the loop.
- Twist your loop so your bottom string is over your top string.
- Taking your right hand with the loop, grab the bottom string.
- Now pull the bottom string through the loop.
- You’ve now created a slip knot! Time to place it on your knitting needle and start your knitting project!
How to do a knitted cast on
The first cast-on method is the knit cast on which is just what it says it is. We are knitting stitches onto one needle.
This method is by far the easiest cast on.
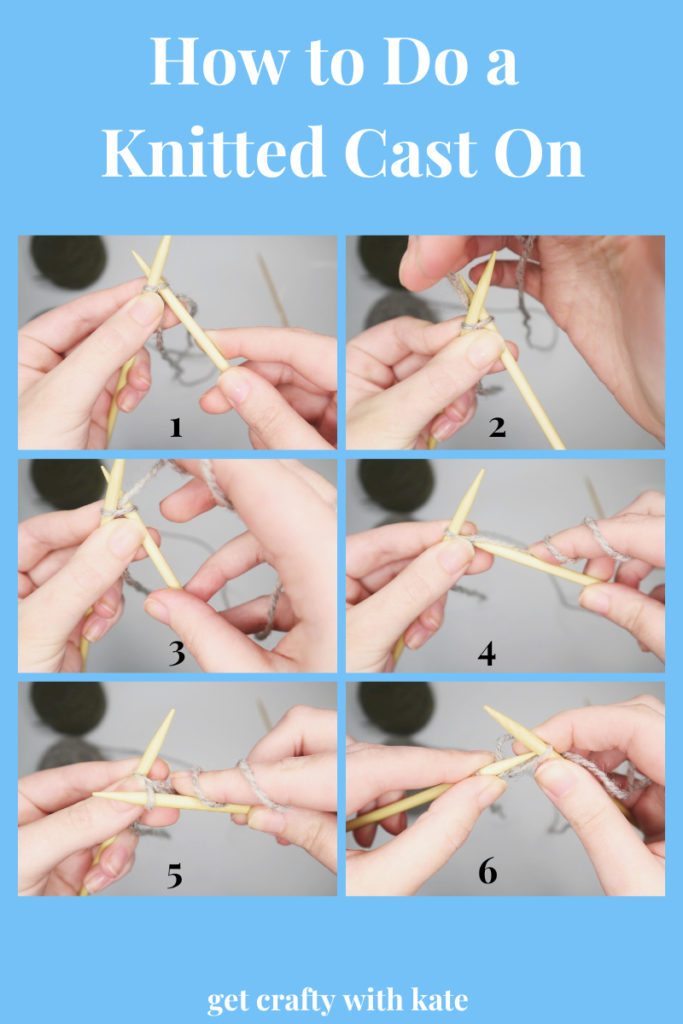
- Holding the knitting needle with the yarn in my left hand, I am taking the empty needle in my right hand and inserting the needle in the loop, behind the needle.
- Taking the yarn, wrap it behind the right needle.
- Bring the yarn in front of the right needle, so the yarn runs in between the two knitting needles
- Now taking the knitting needle in your right hand, push down, grabbing the working yarn you just placed between the two needles.
- Pull down. Now you should have a loop, or stitch, on both of the knitting needles.
- Simply slip the stitch from the right knitting needle onto the left. You have now casted on your first knit stitch!
How to do a long tail cast on
The long tail cast on is my favourite way to cast on. This method is great for every project since it creates a stretchier edge.
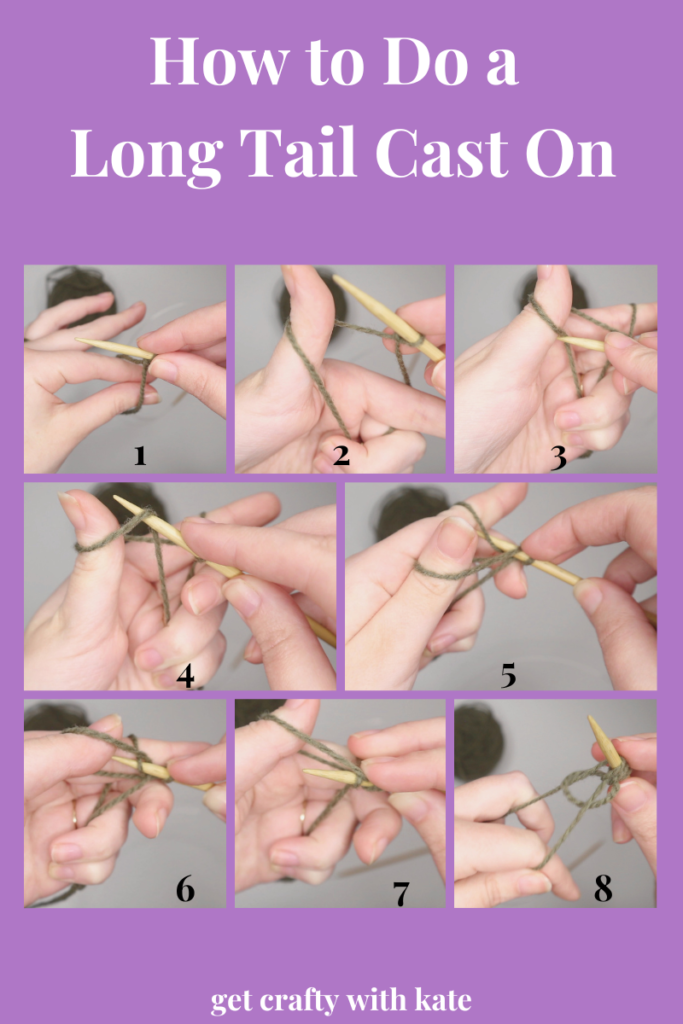
- With your yarn on your needle, place your thumb and index finger between the yarns, ensuring that the tail is in the front and the working yarn is in the back. With your other 3 fingers, grab a hold of the 2 pieces of yarn and hold them.
- Spreading your 2 fingers apart, turn your hand so the palm of your hand is facing you like in image 2.
- Taking our needle, we are going to insert it under the yarn that is wrapped around our thumb in the front, also known as the tail.
- Pull the yarn up with the working needle.
- Take your needle with your yarn on it, bring it to the back of the working yarn wrapped around your index finger, and insert your needle under the yarn from the back.
- Pull the yarn with needle, bringing it through the loop you have now created around your thumb.
- Continue pulling the yarn through the loop, releasing the loop from around your thumb.
- After pulling the yarn through the loop, we are going to pull on both pieces of yarn which will tighten your stitch
And there you have it, you have now casted on your stitches onto your knitting needle!
This is just the beginning to your knitting journey. Once your stitches are on, it’s time to start knitting your project. Have fun & happy knitting.
